
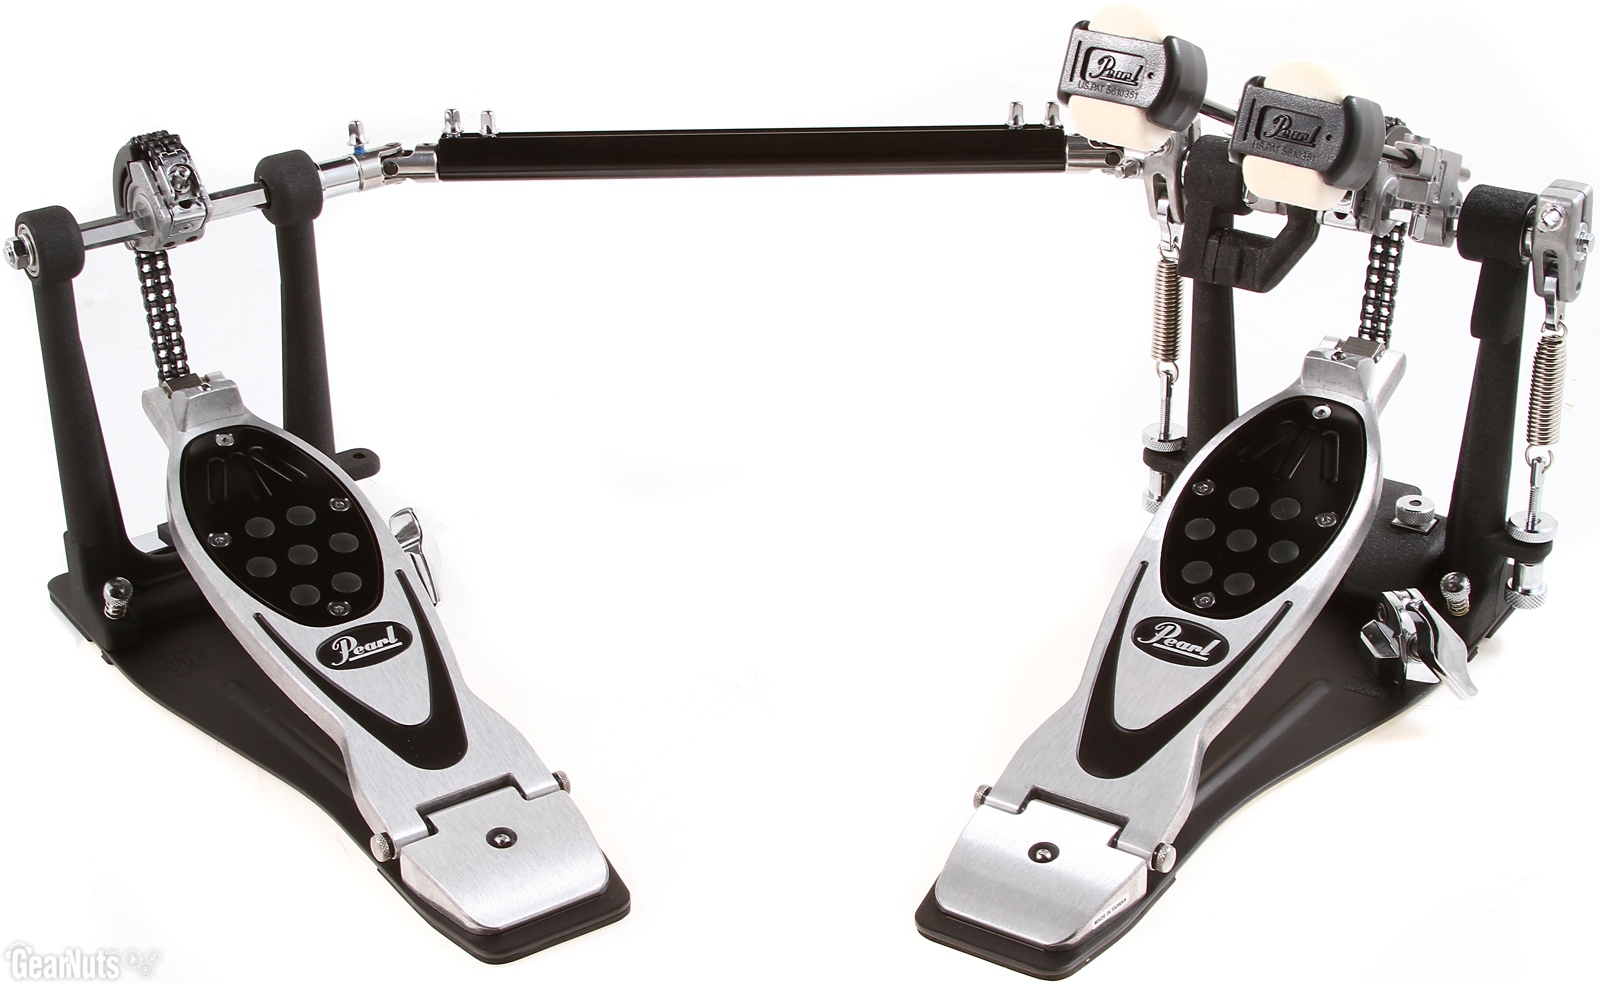
Pearl Eliminator bass drum pedal is one of the most popular pedals on the market and has been made since ~2002.
 Pearl is a decent enough company that it sells almost every single part of the pedal as a replacment part except the most crucial one.... the hinge bush. You can only buy it if you buy the whole footboard from Pearl which costs £50 to £70 which is unnessecary if the only faulty part is a worn out hinge bush that makes the pedal sloppy and wobbly.
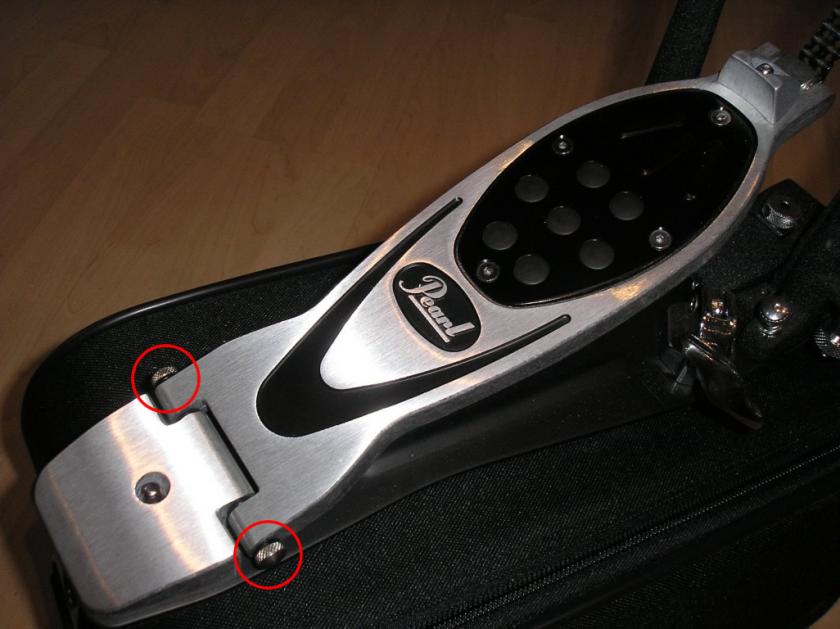
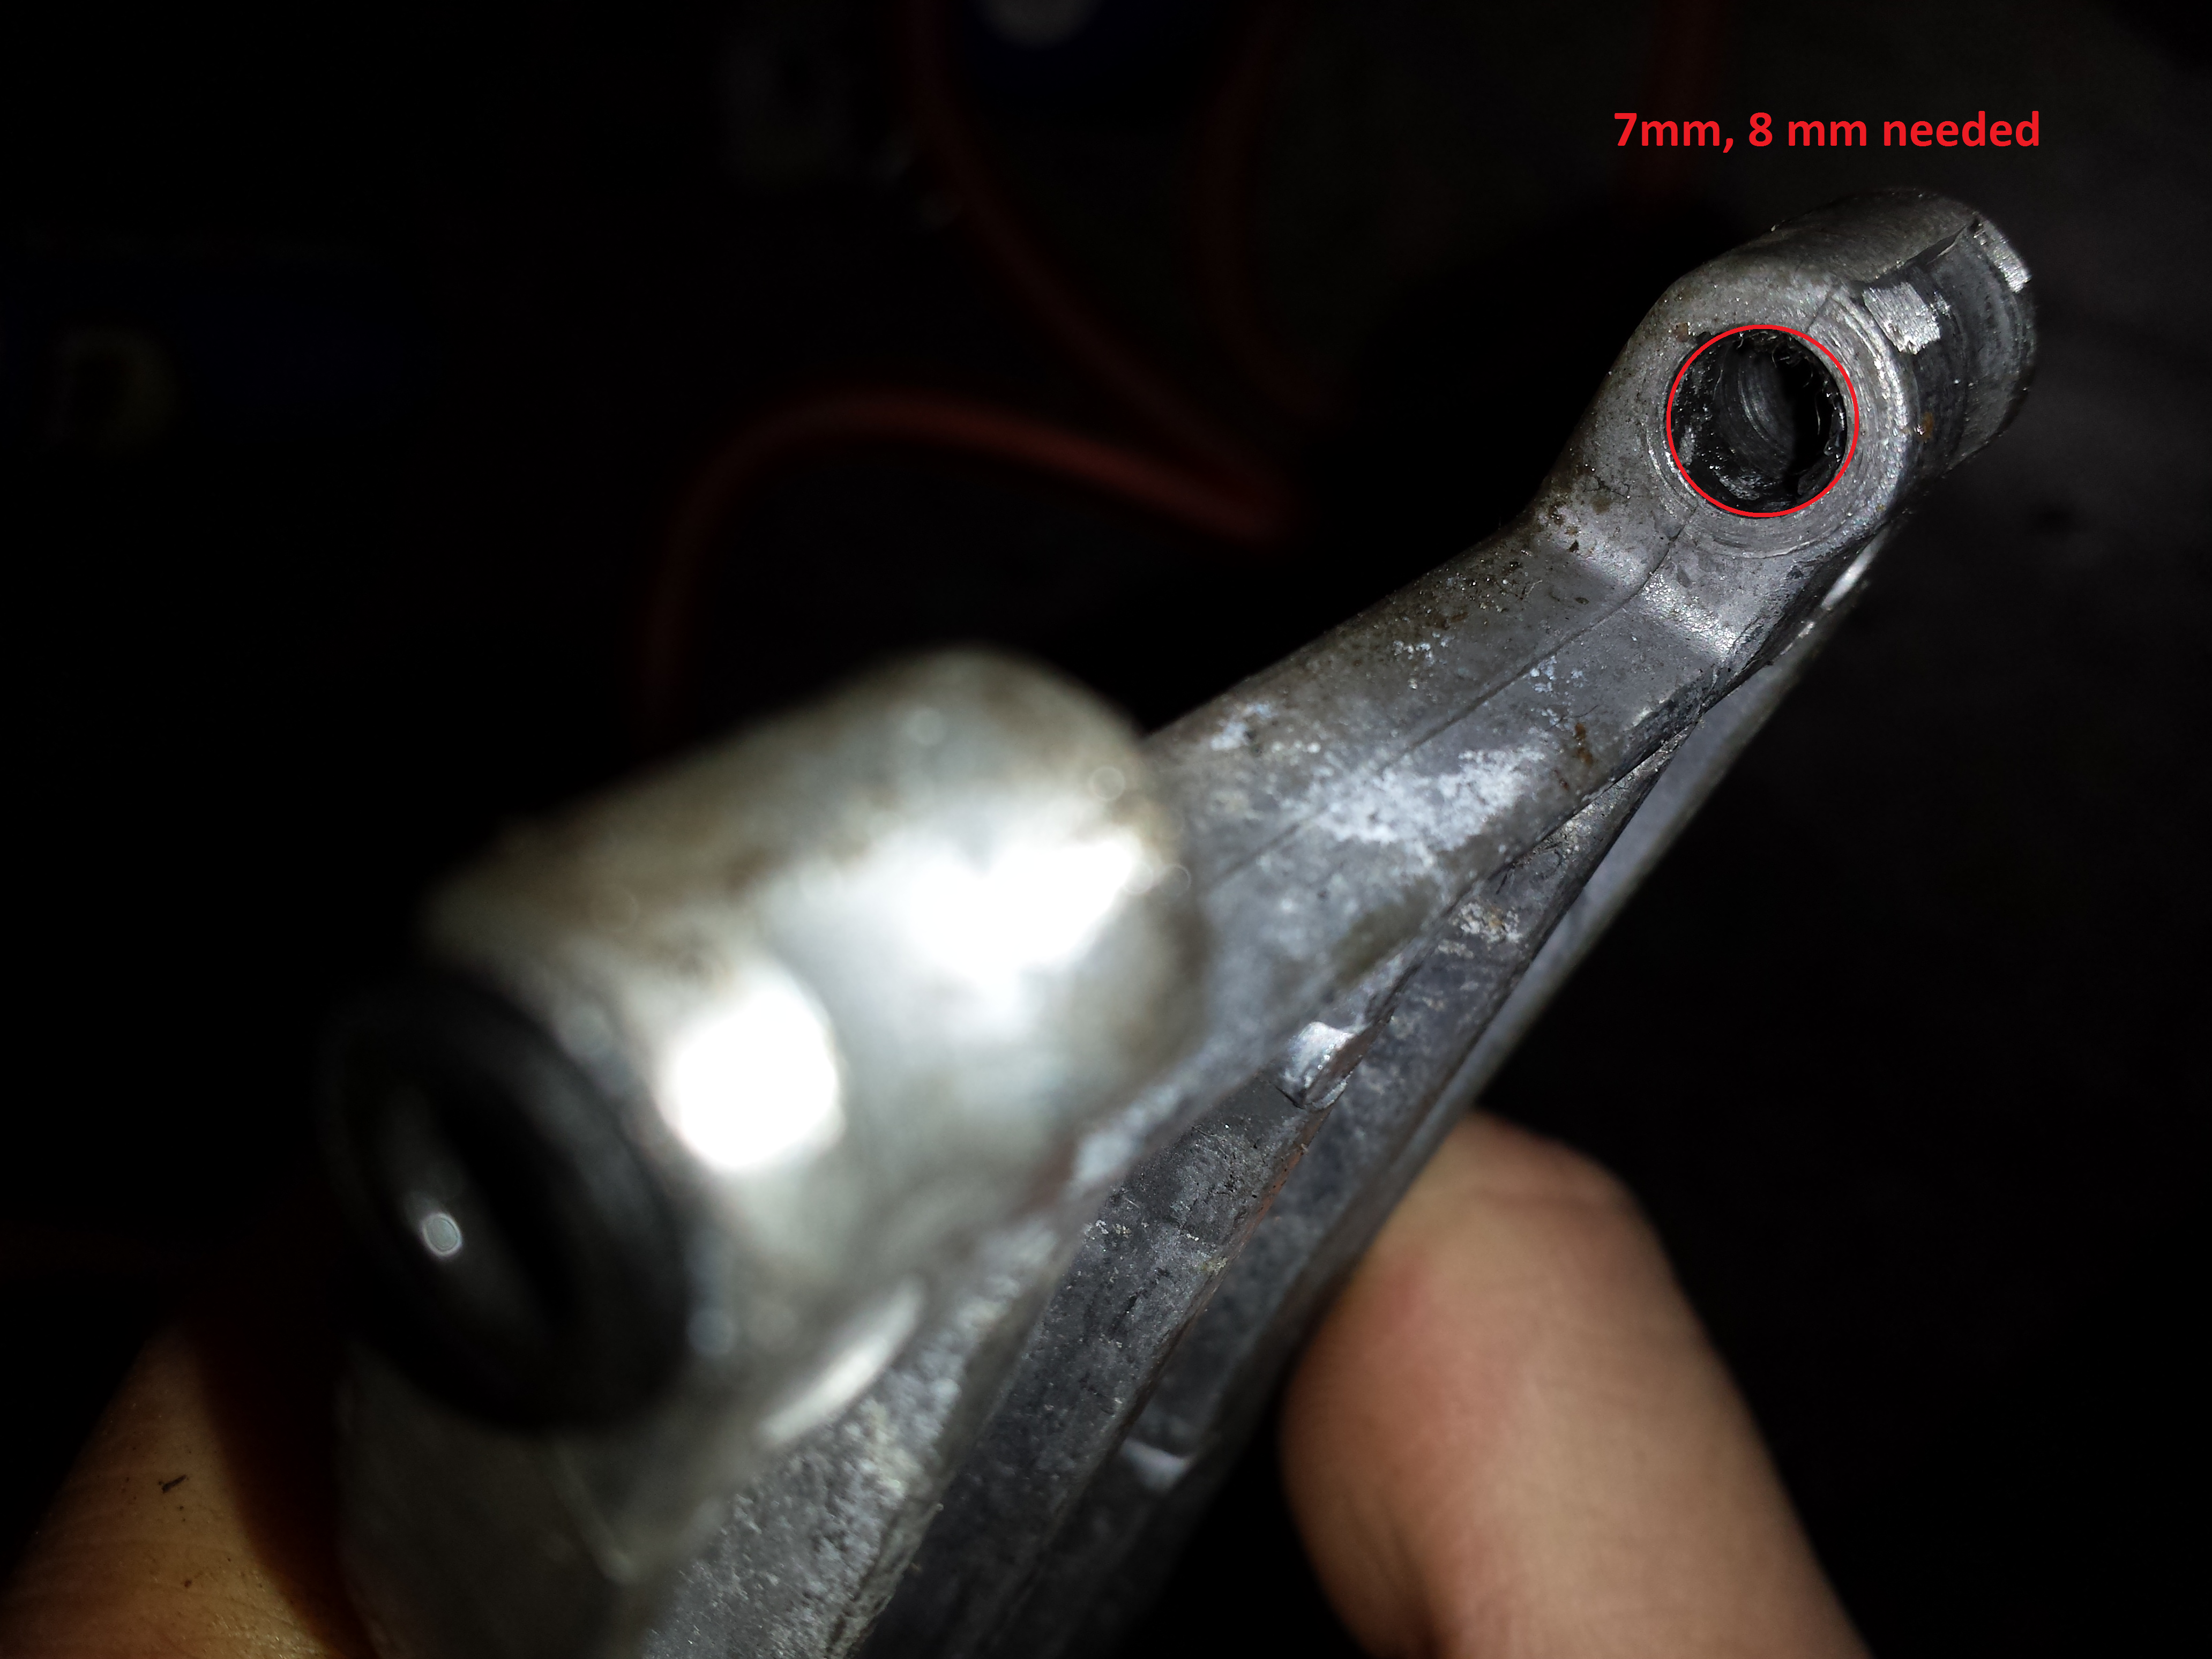
The problem area:
Pearls £70 solution to the problem:
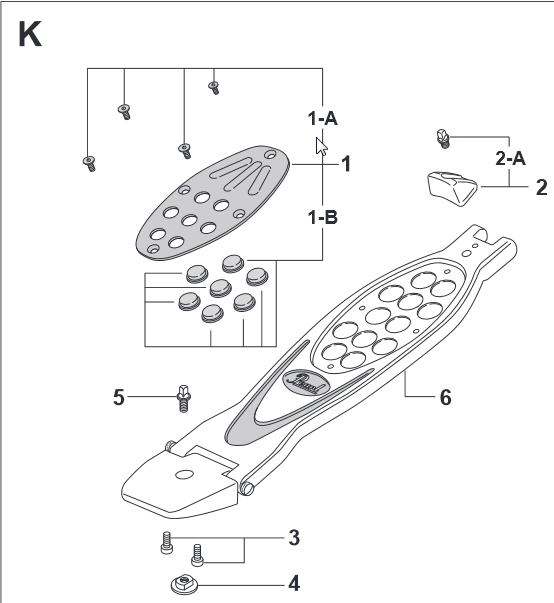
The spare part code is "FB-2000A Footboard Assy. Complete" if you are wondering.
So I decided to find a way to fix that issue withoout spending £70.
The first thing I did is I took the pedal apart:
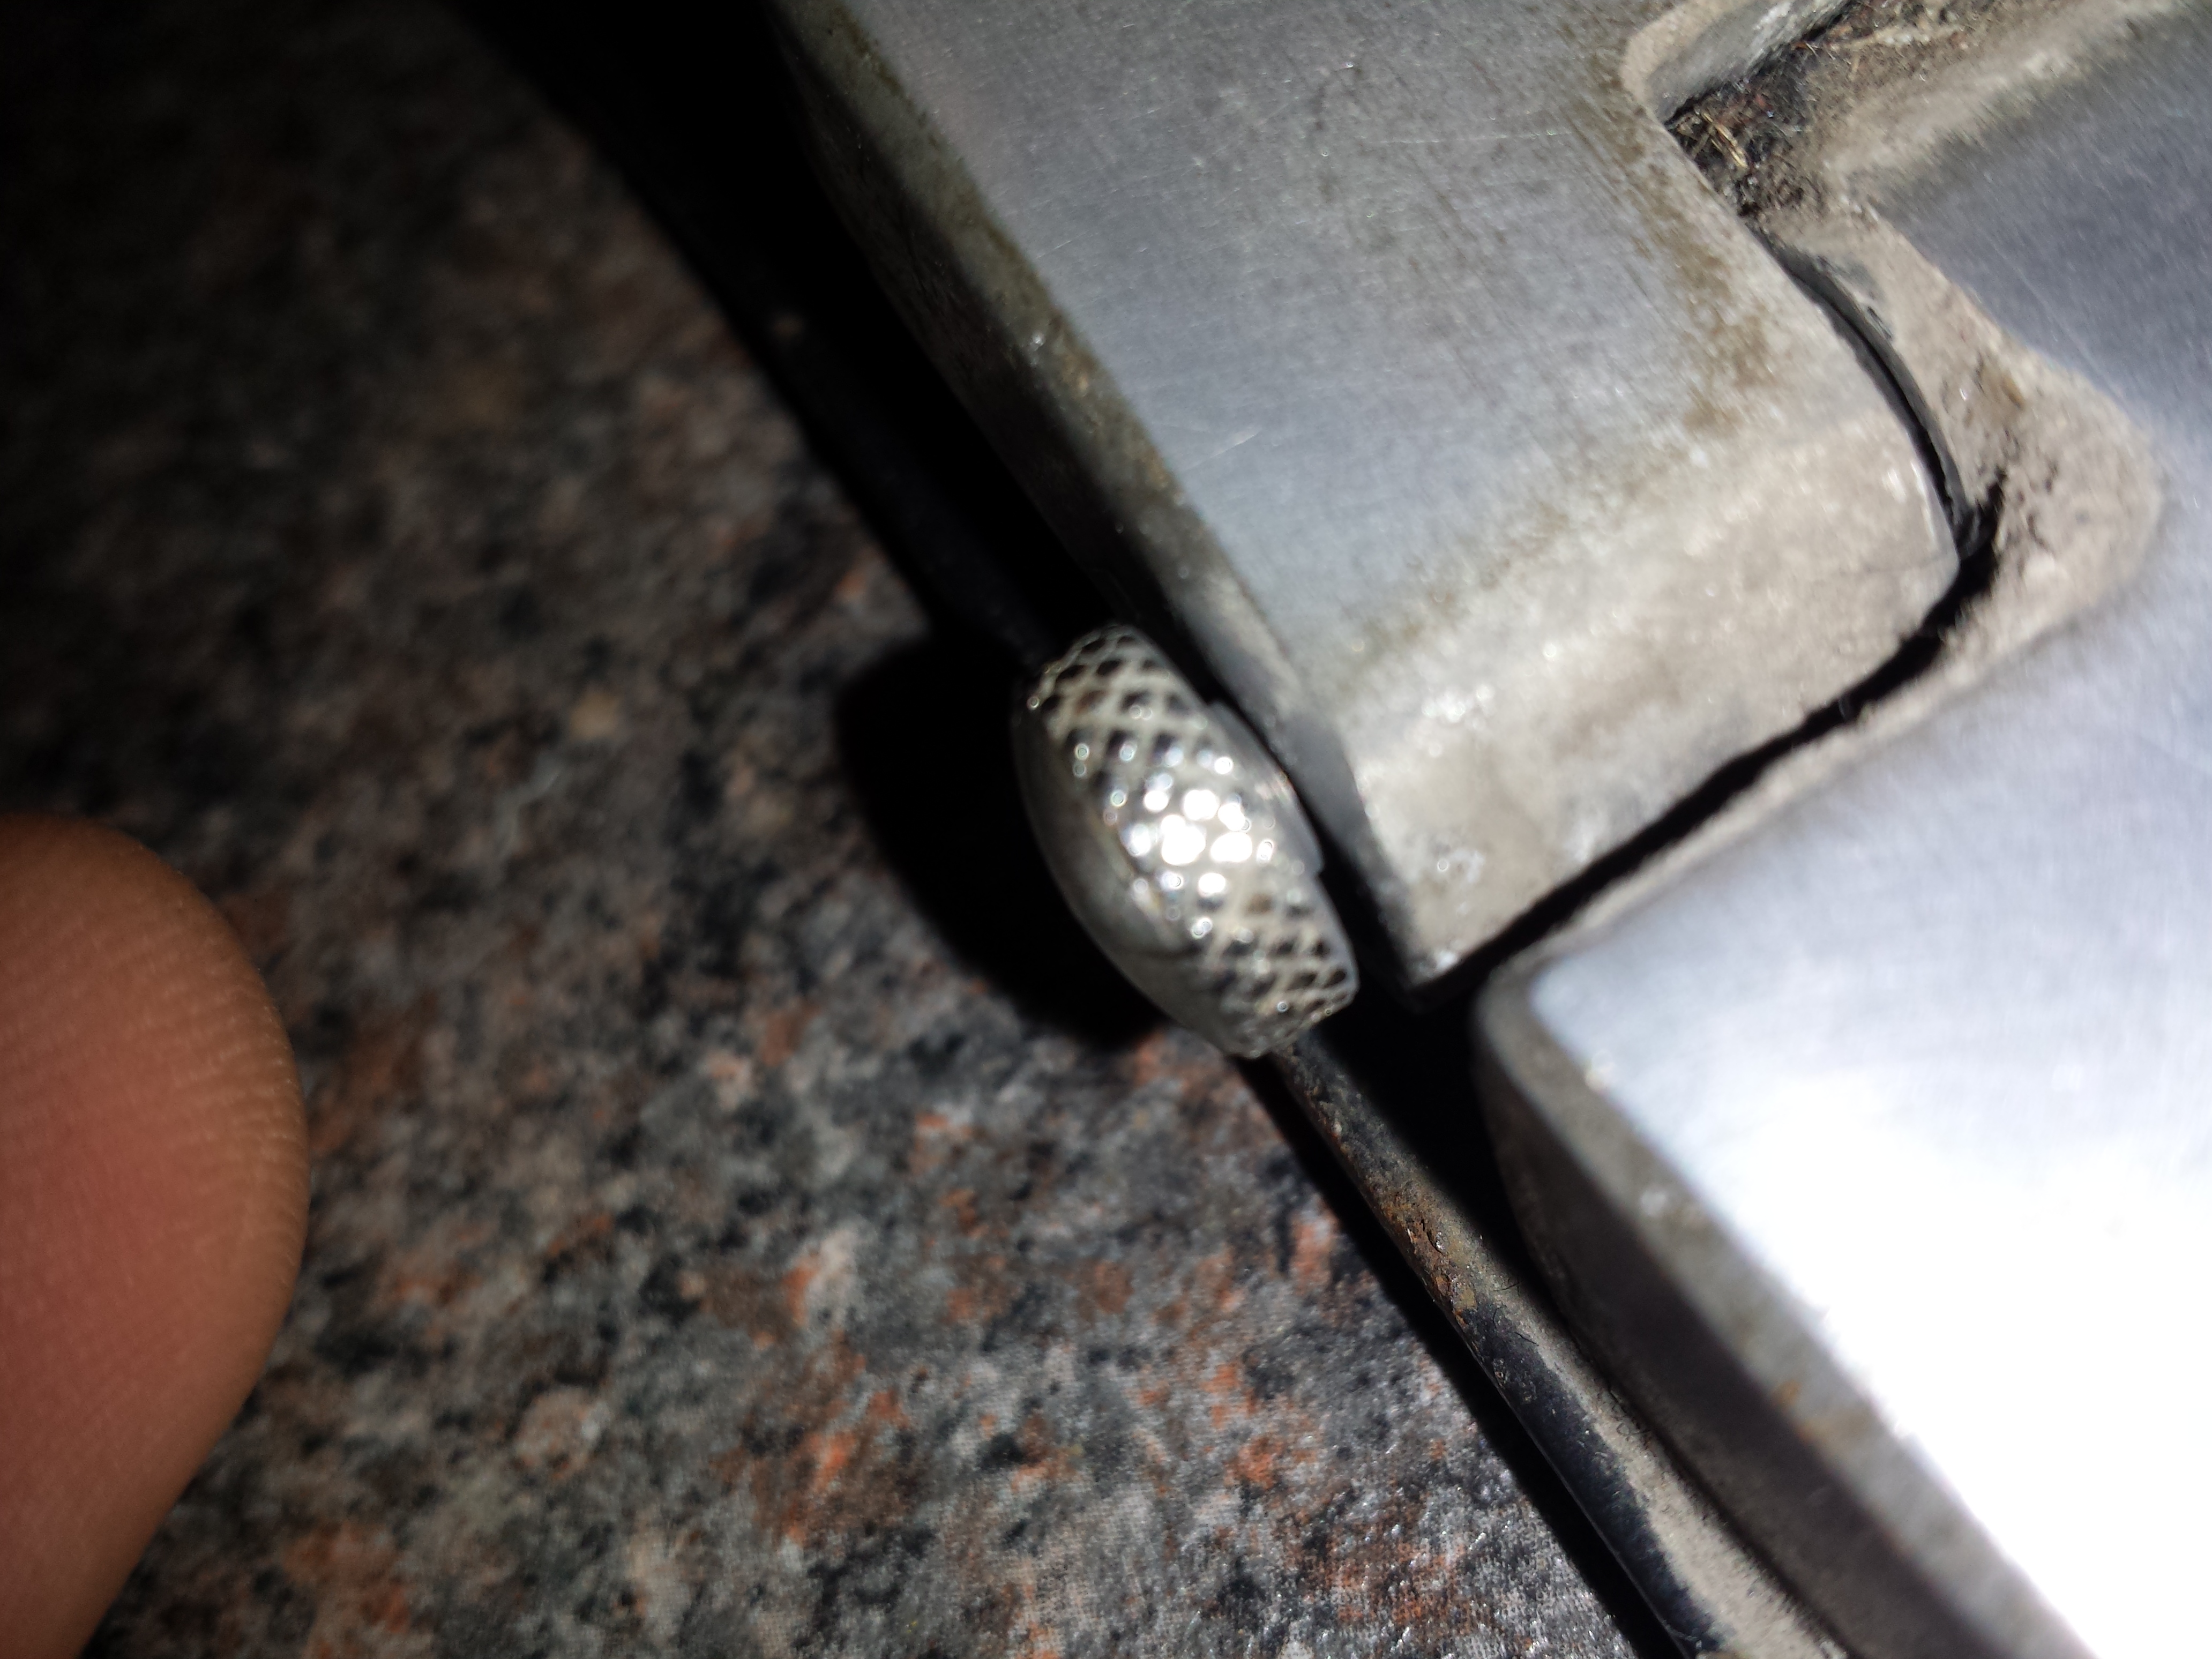
To take the 2 piece foot board apart you first have to undo this screw:
Then turn it upside down and undo these 2 screws below, you may want to use wd 40 first:
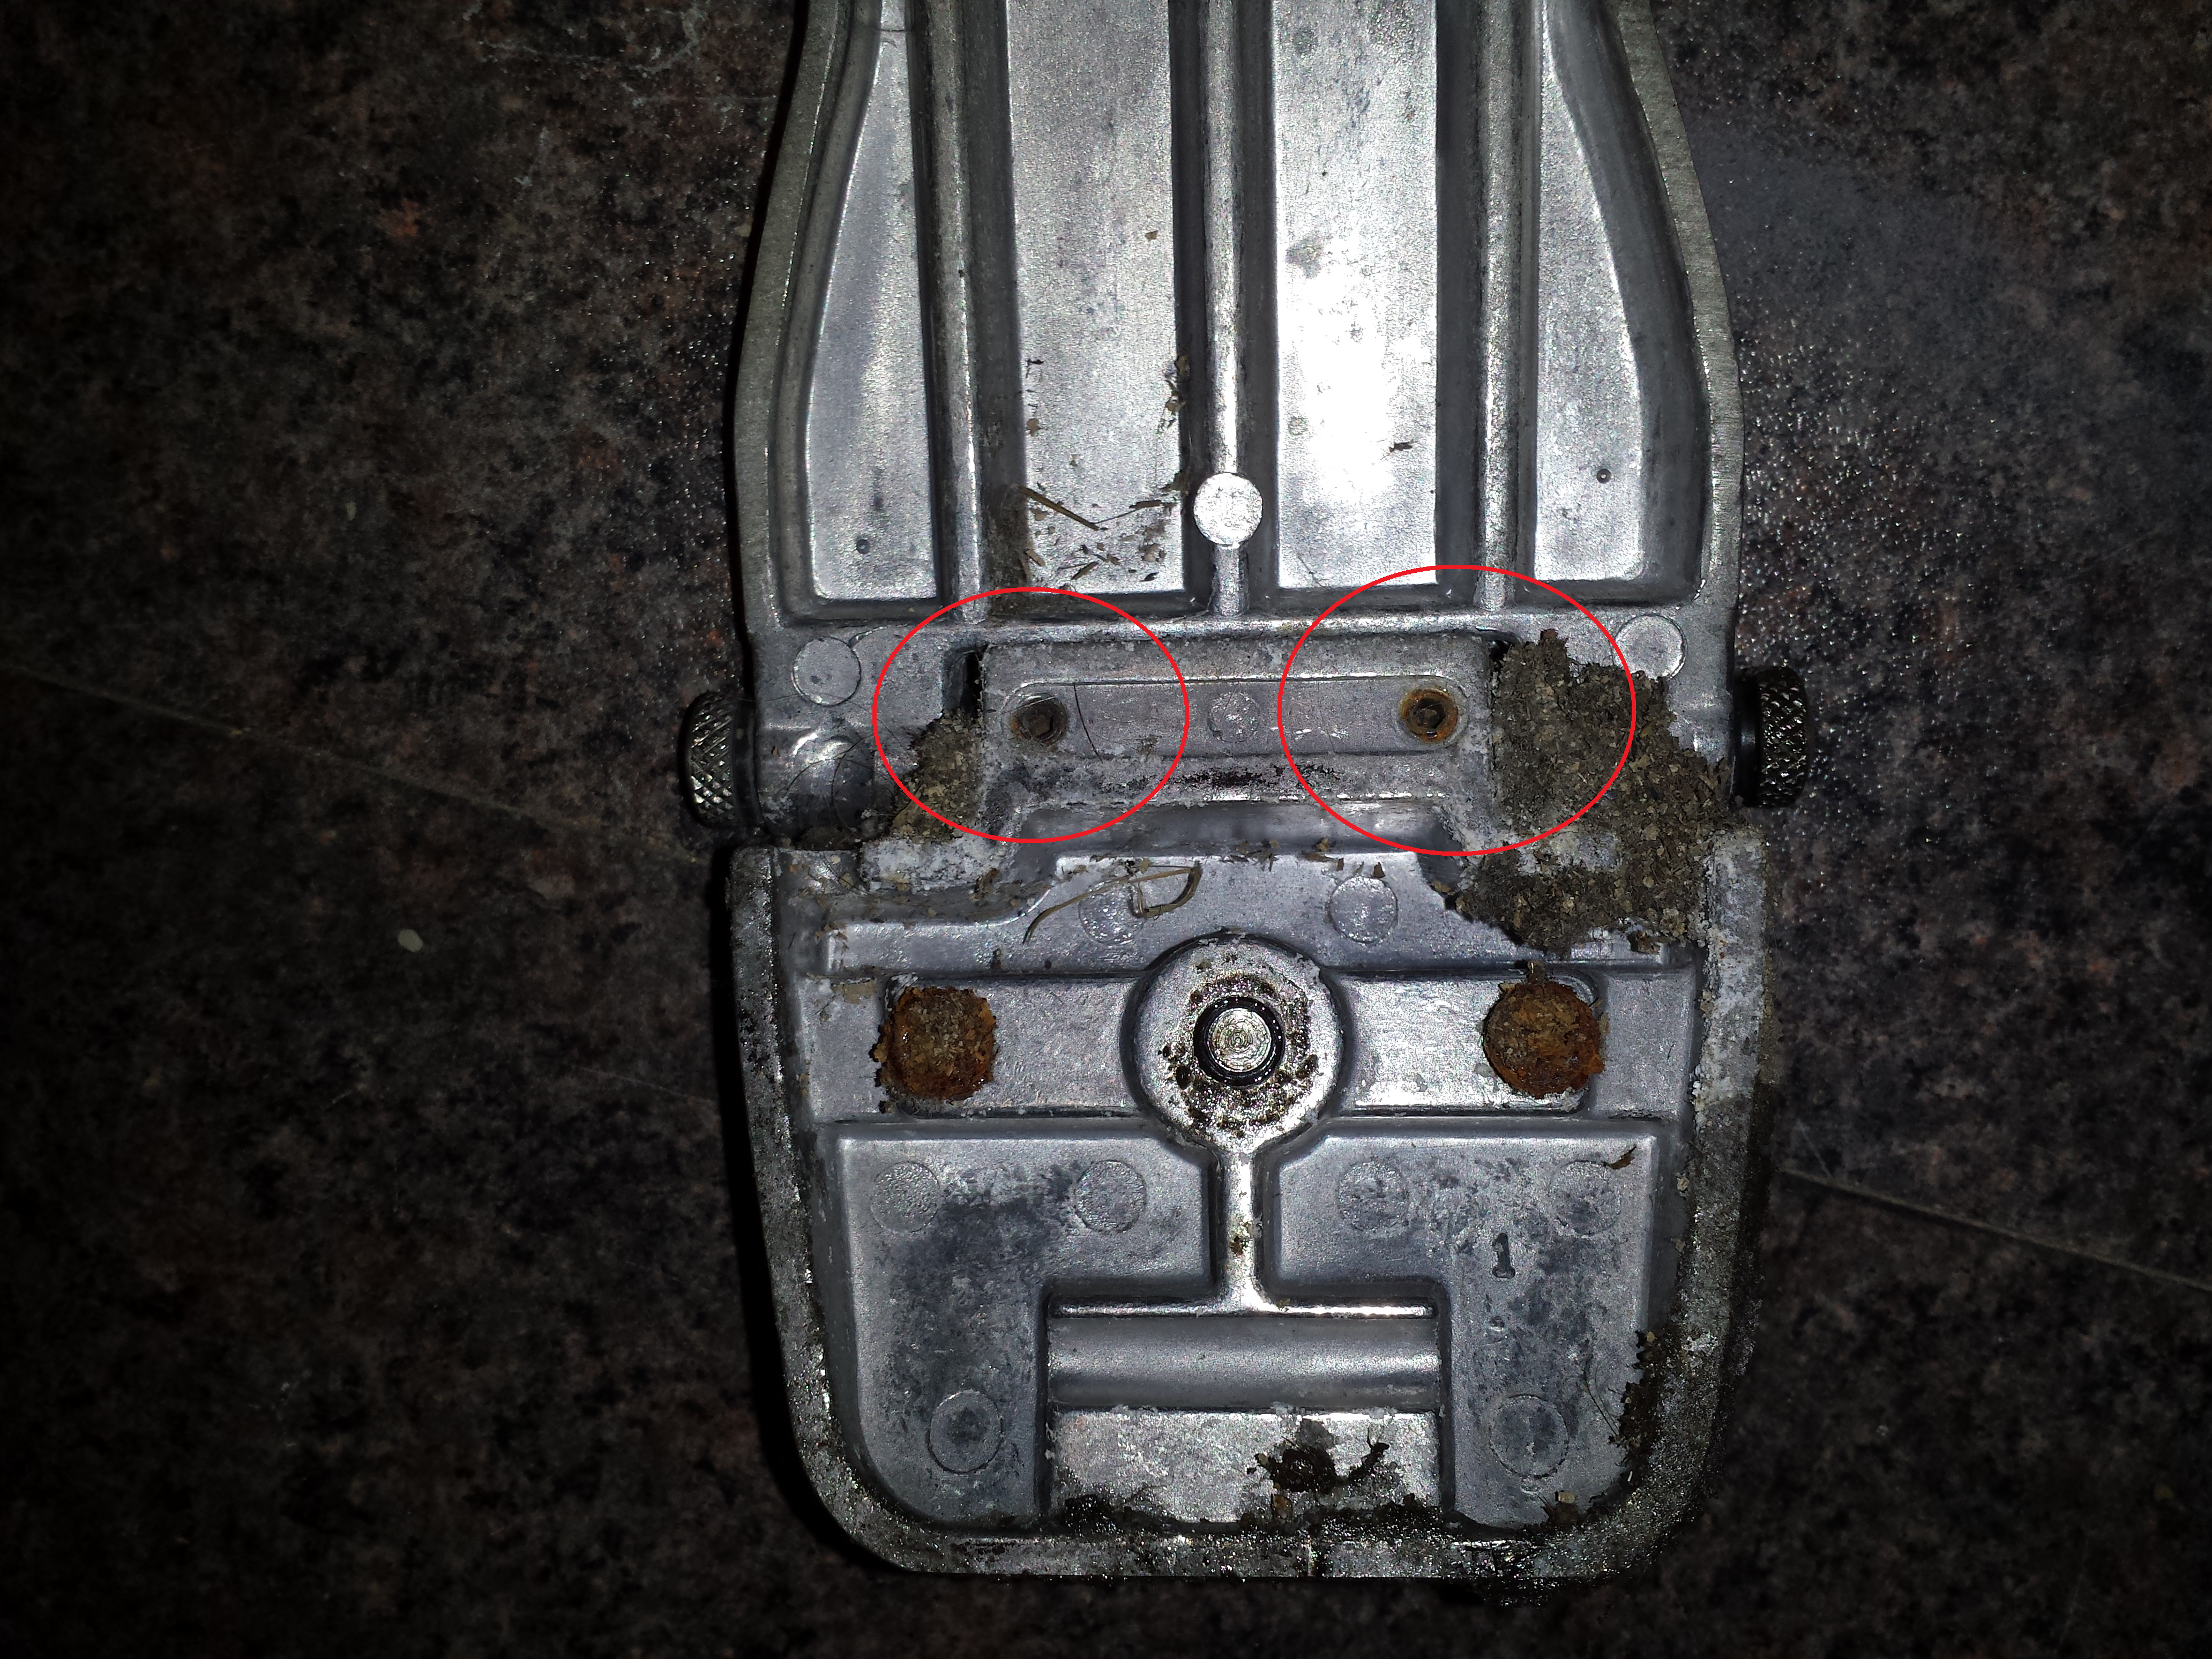
And then you just undo the two screws do the sides of the footboard with pliers. Make sure you have a firm grip as not to round the head off.
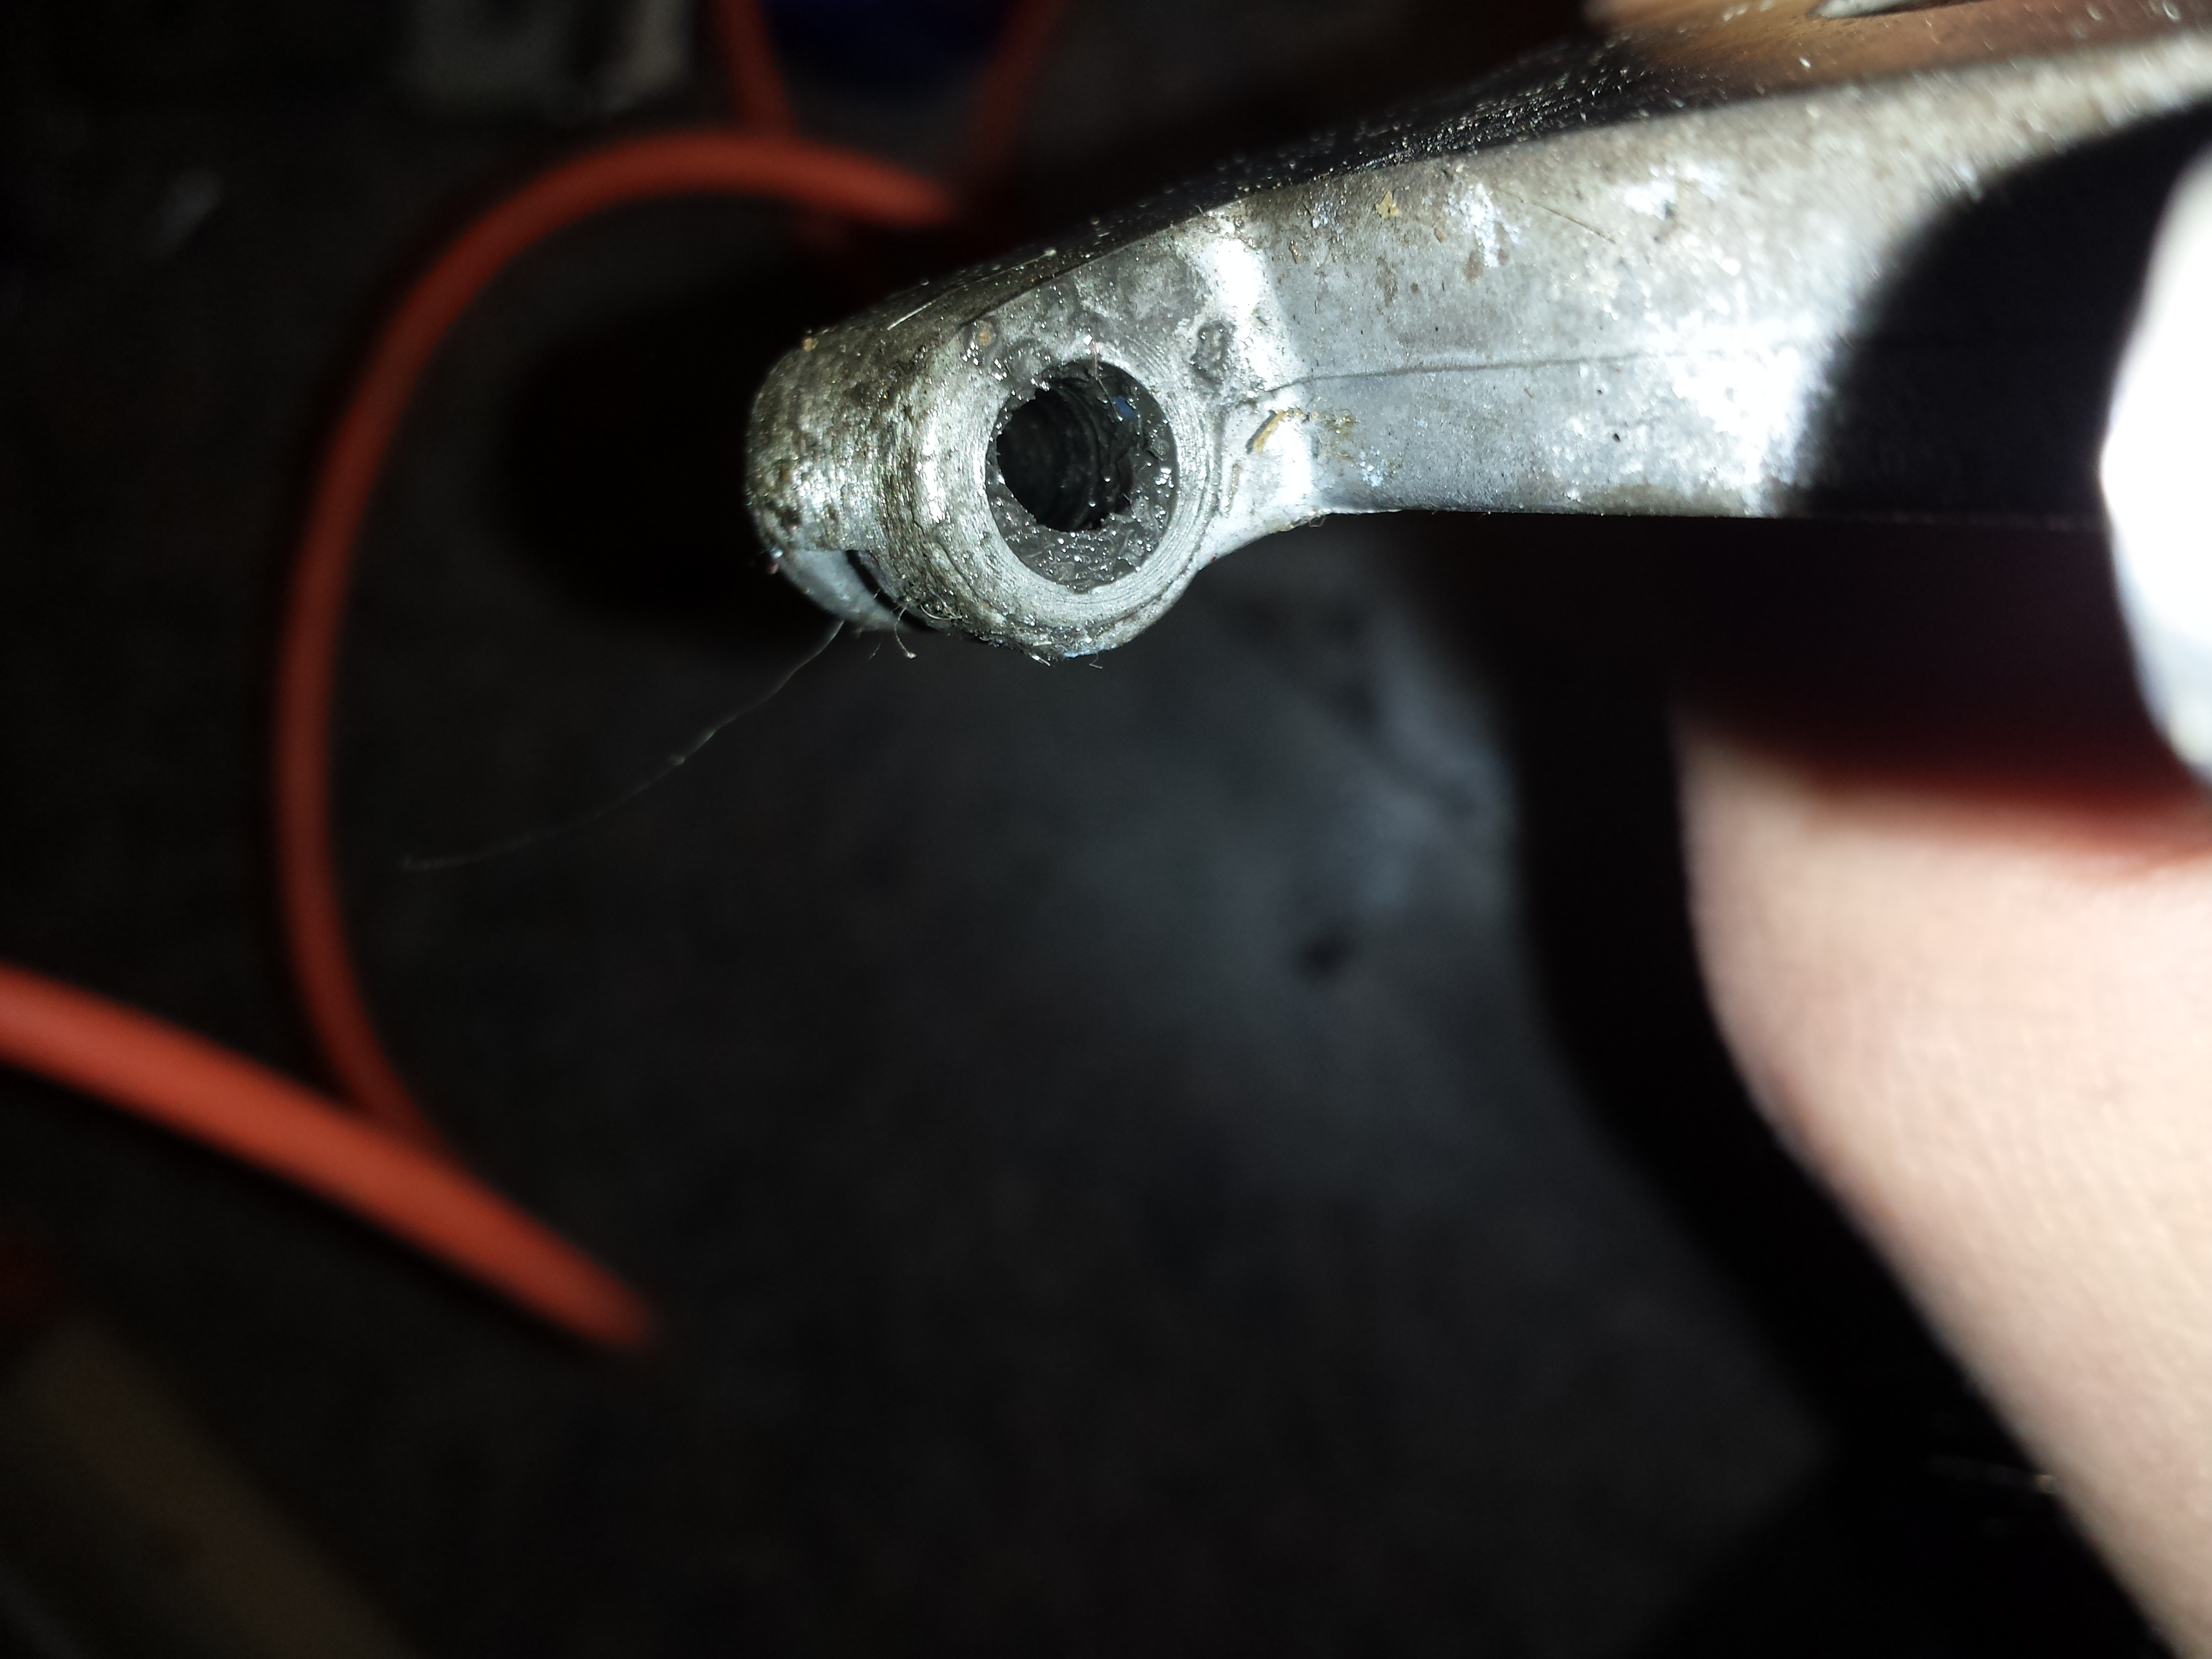
The bush on the master pedal was completley gone:
And the bad wear caused the metal foot plate hole to wear out unevenly:
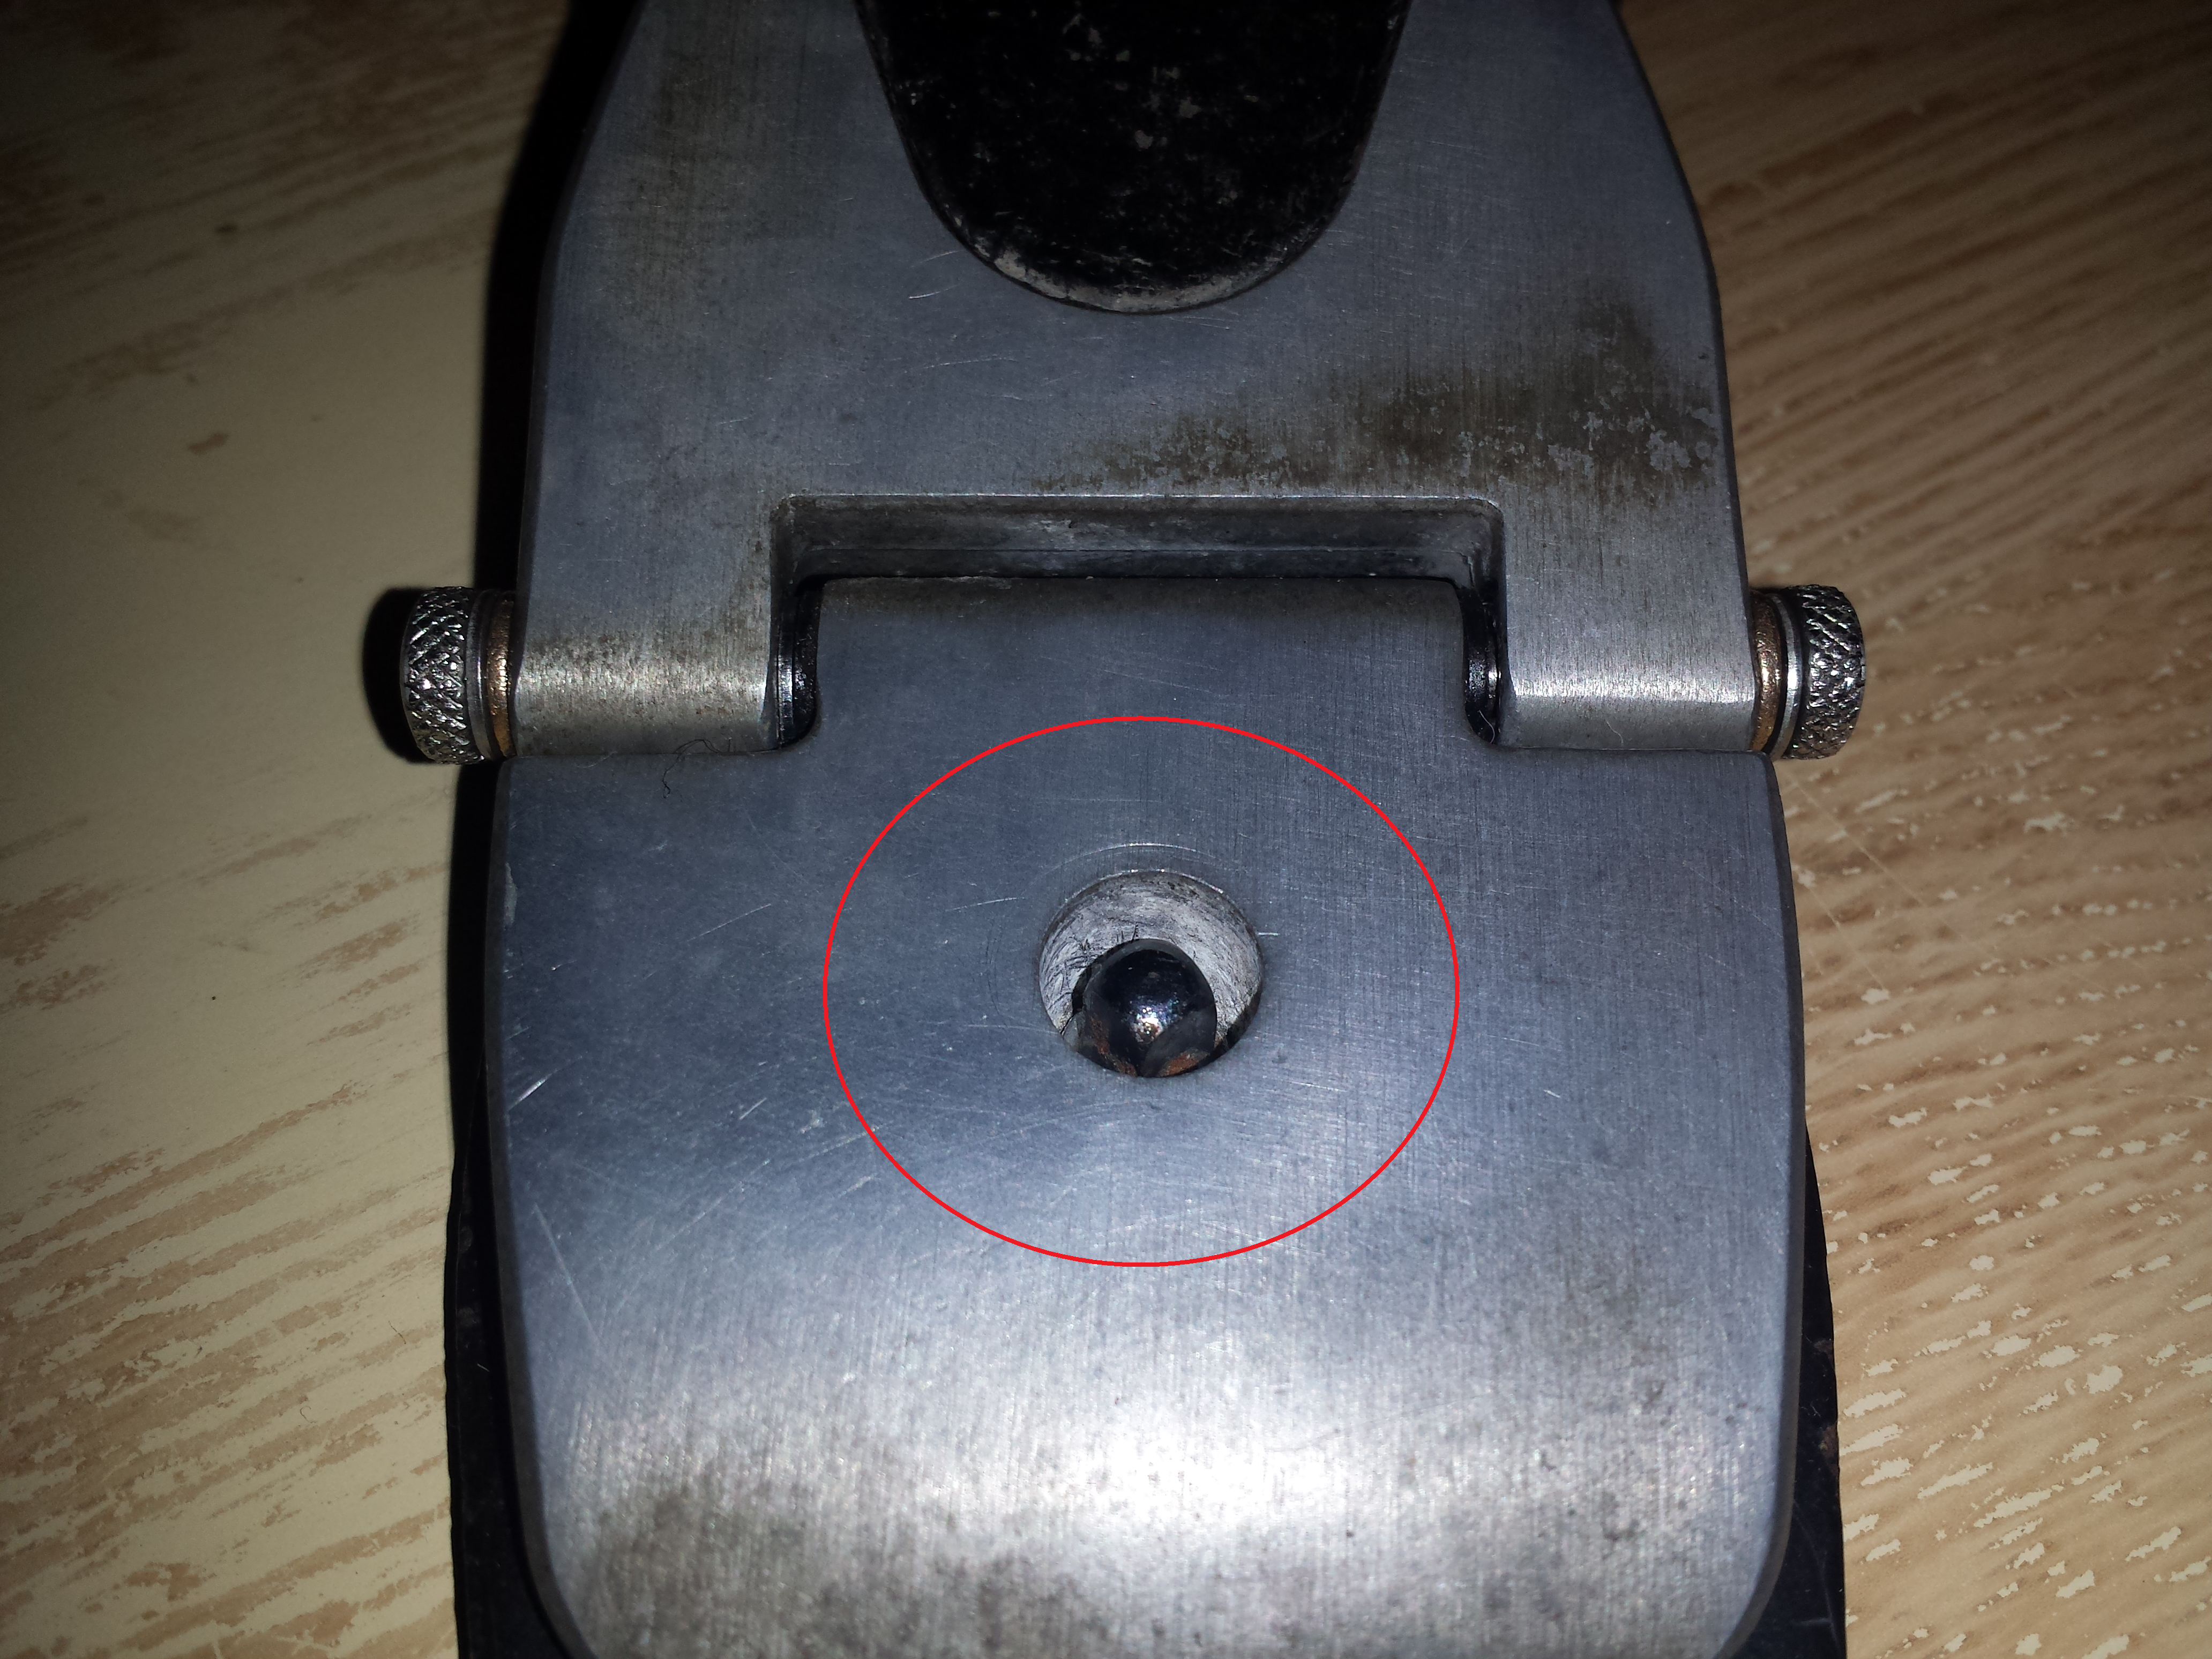
After removing the plasting bushing I saw this:
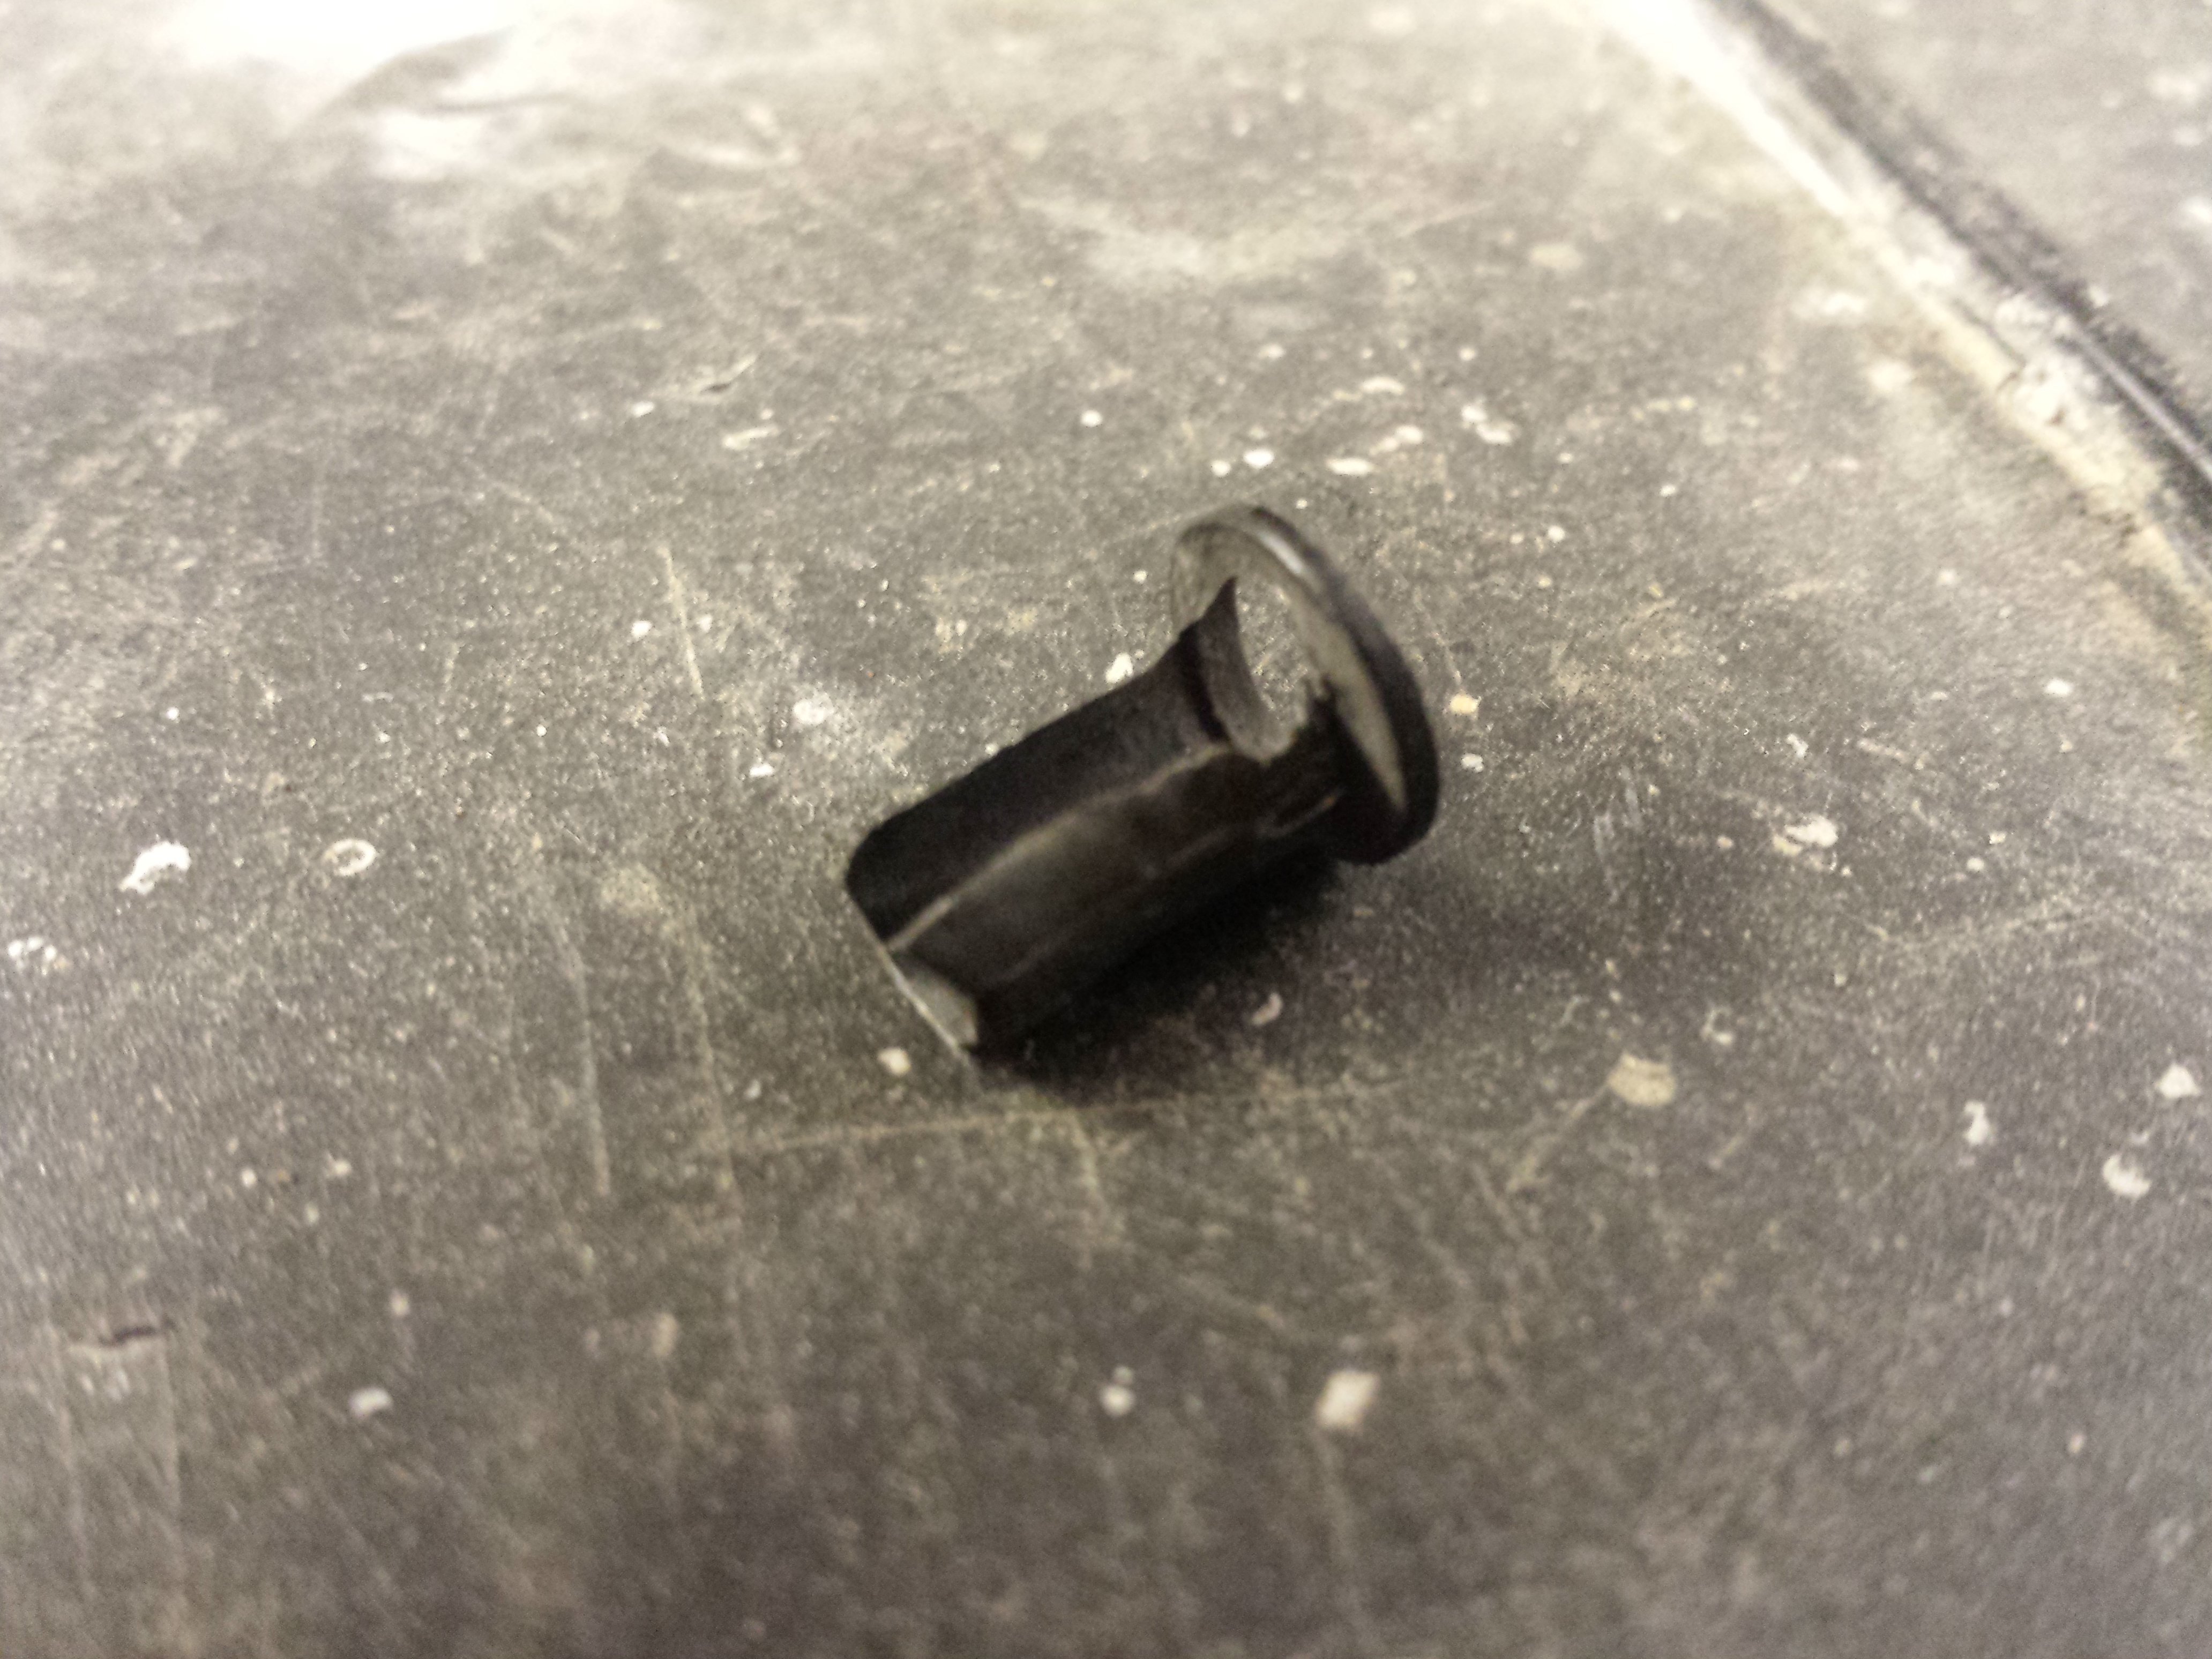
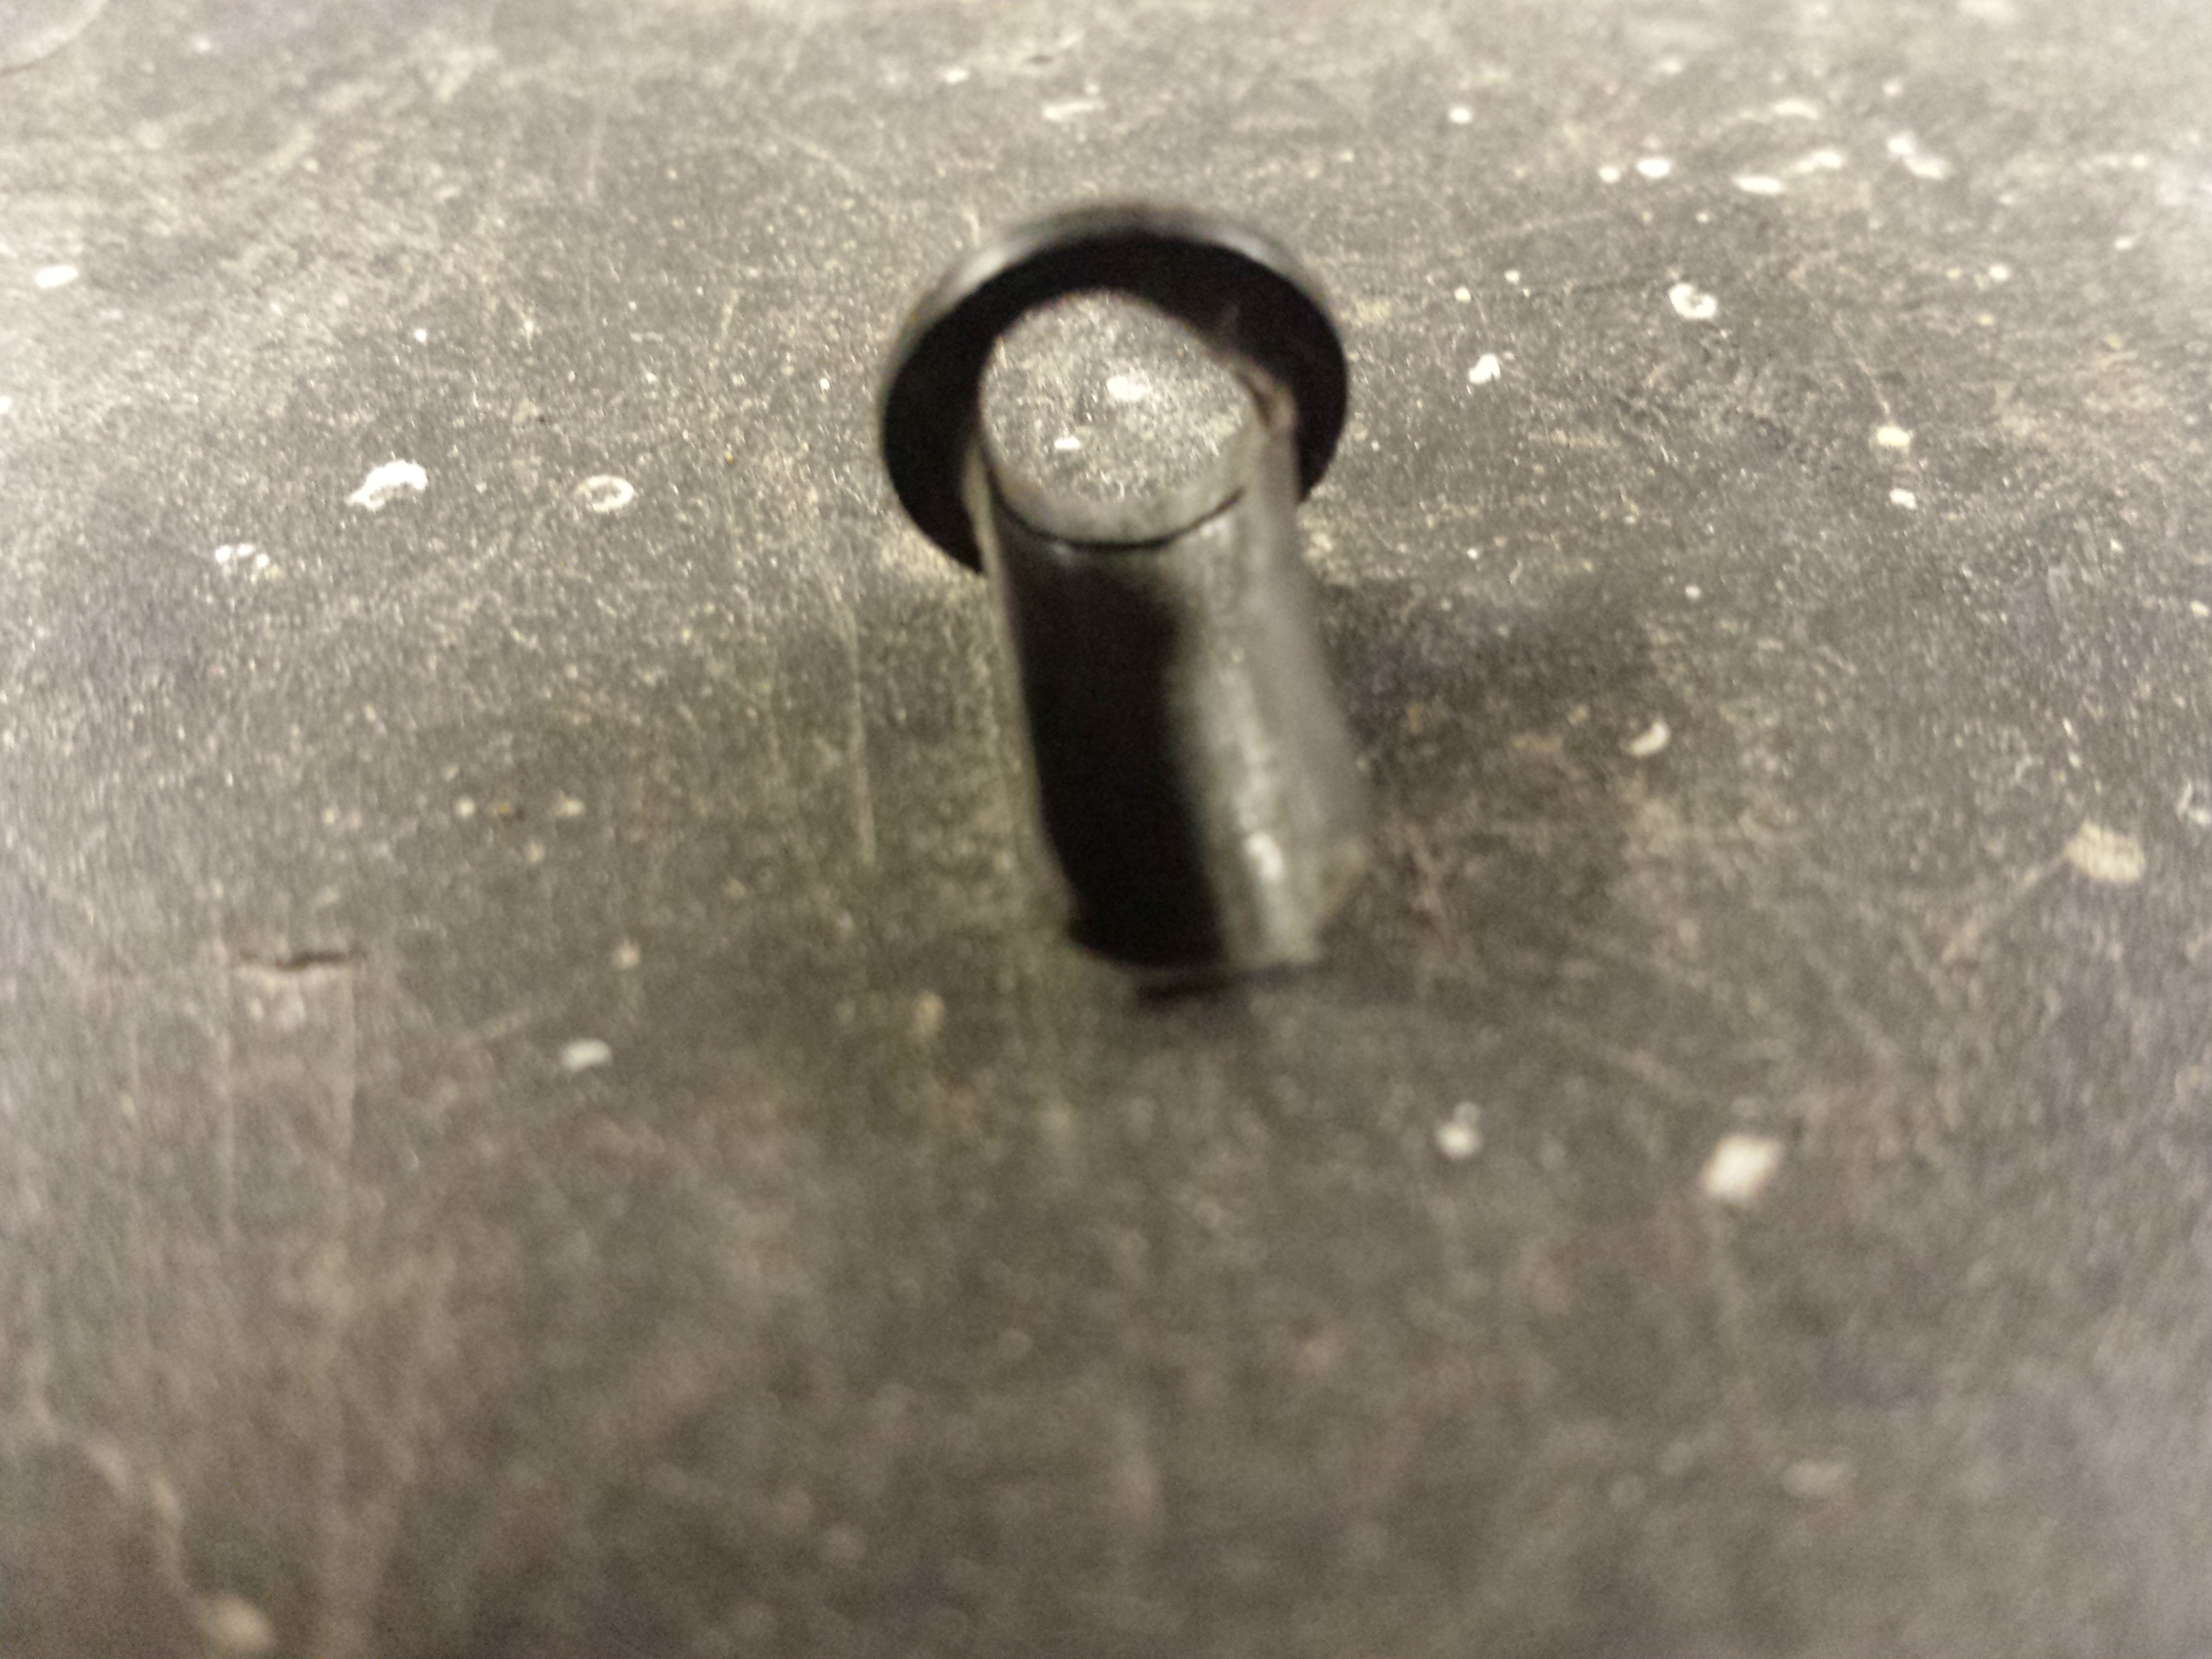
The bush was completley destroyed and non functional.
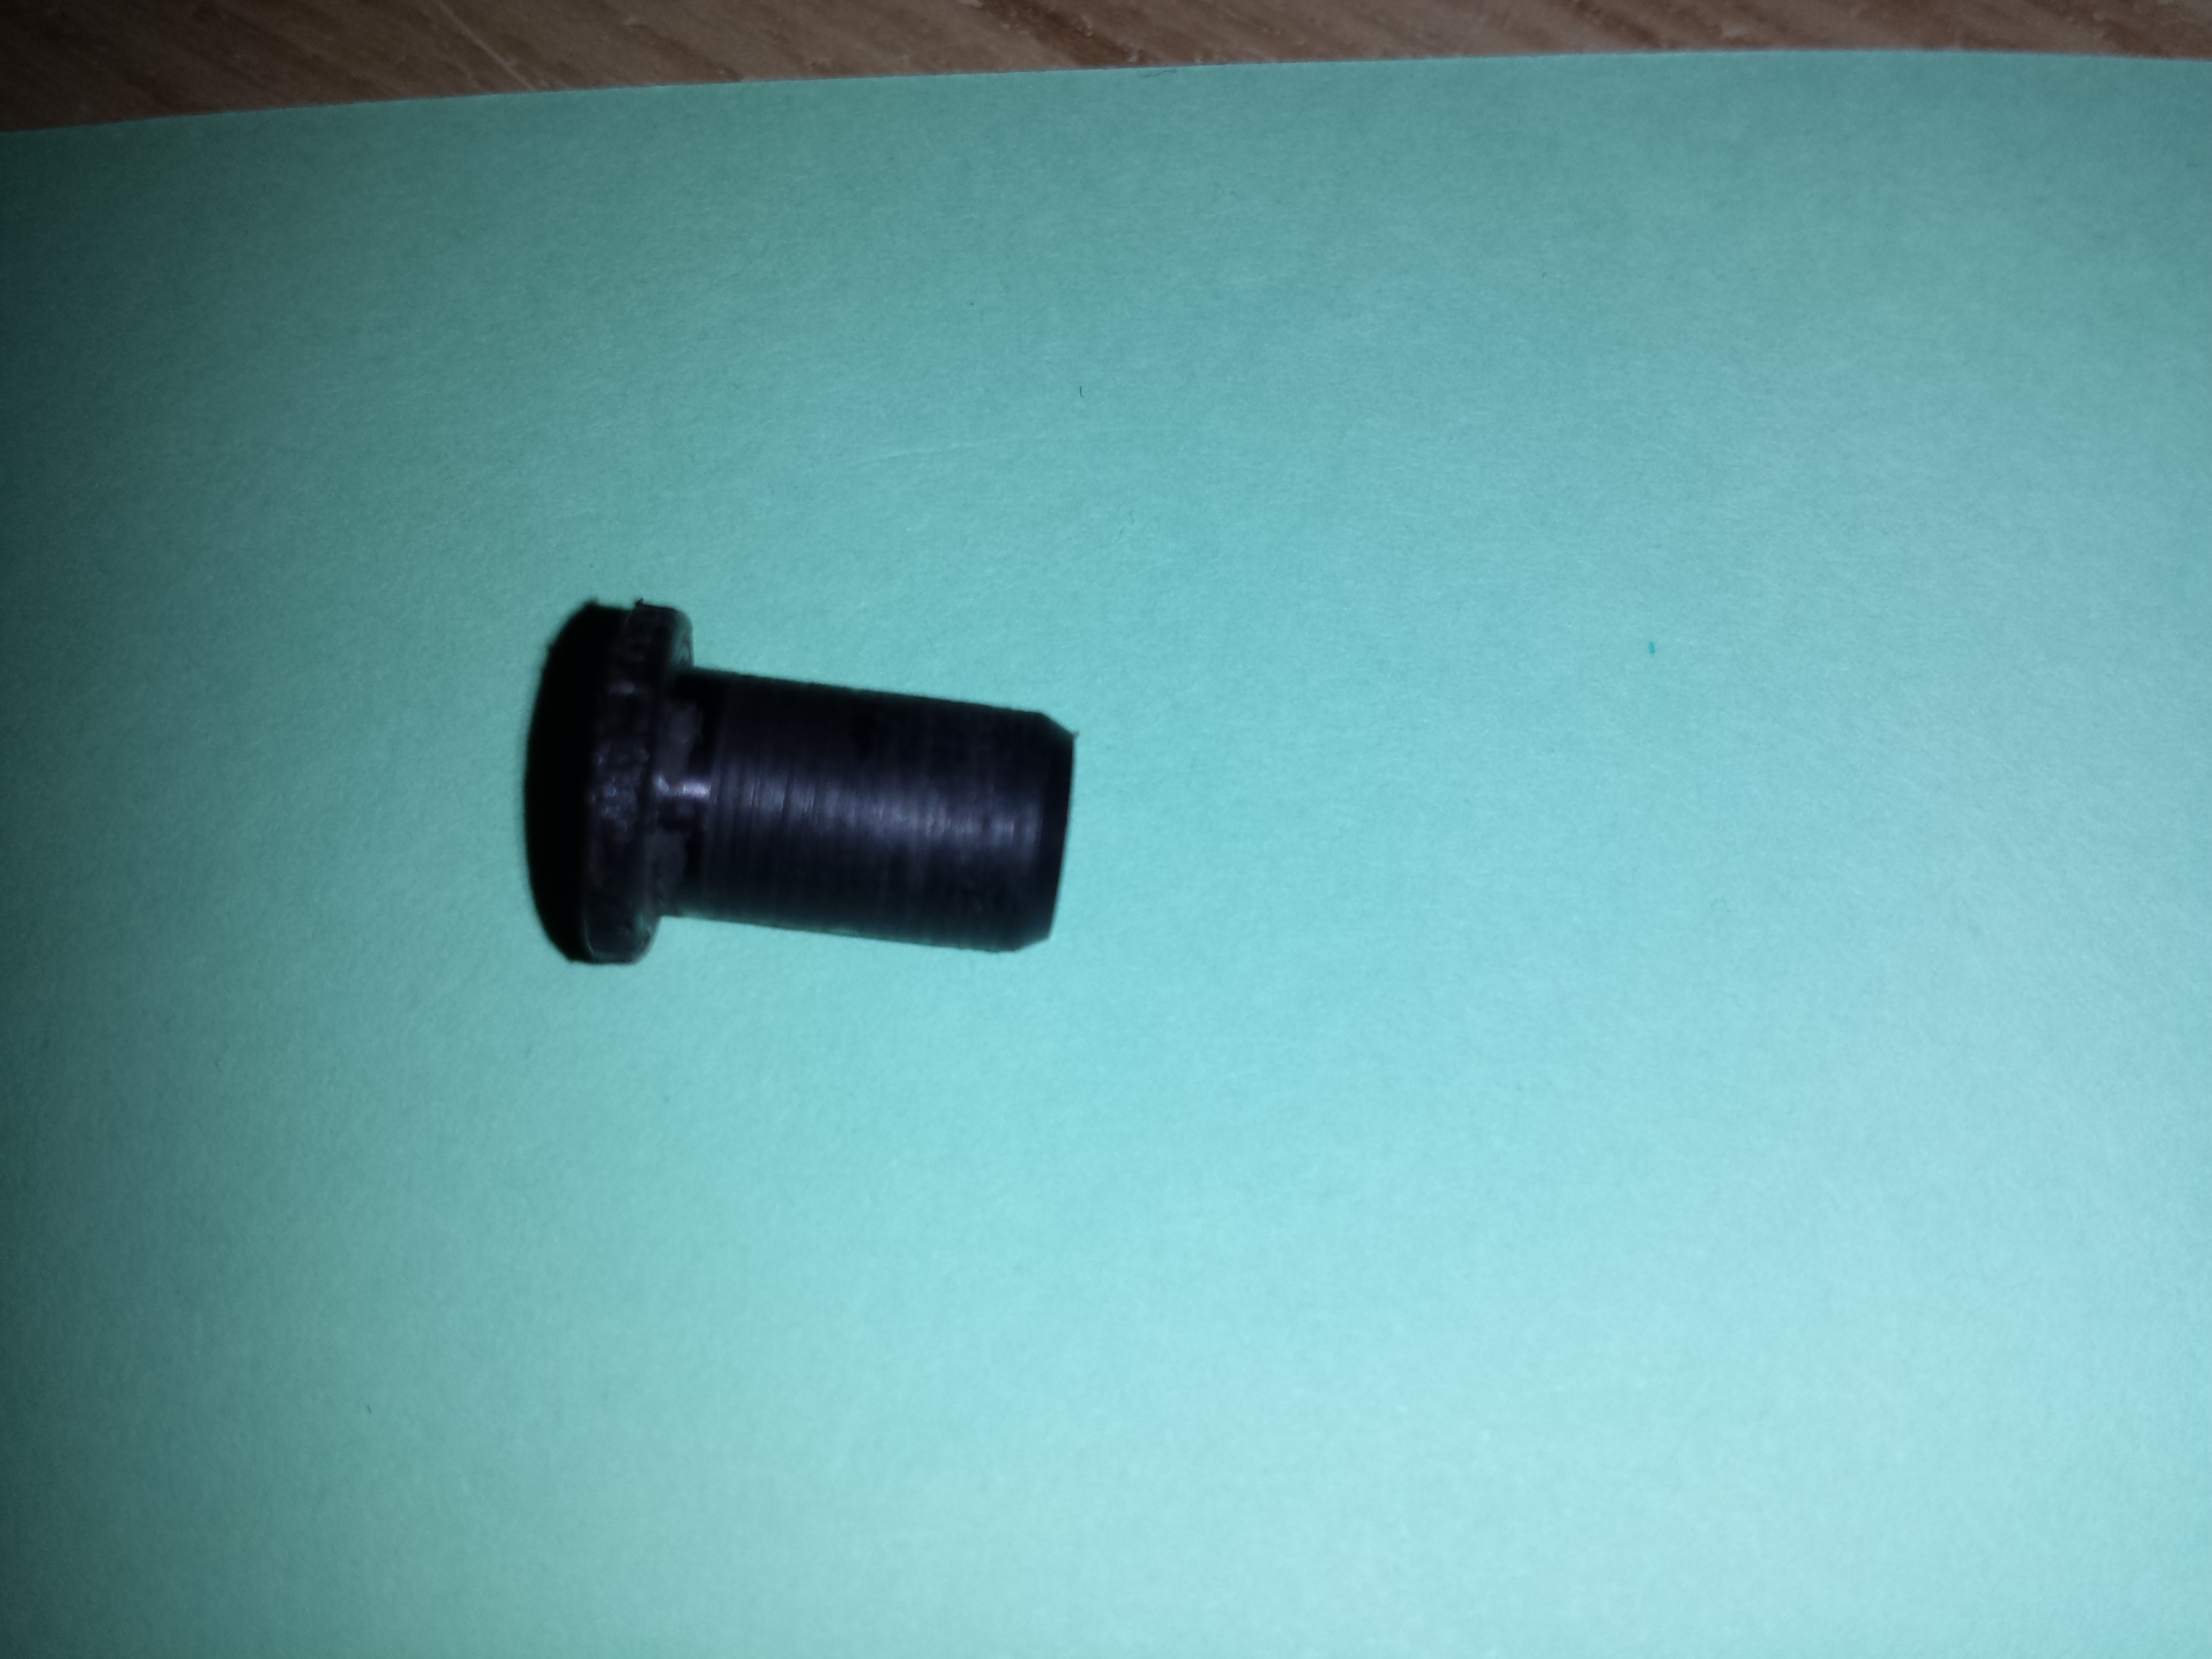
And just for comparison this is how the bush is supposed to look like:
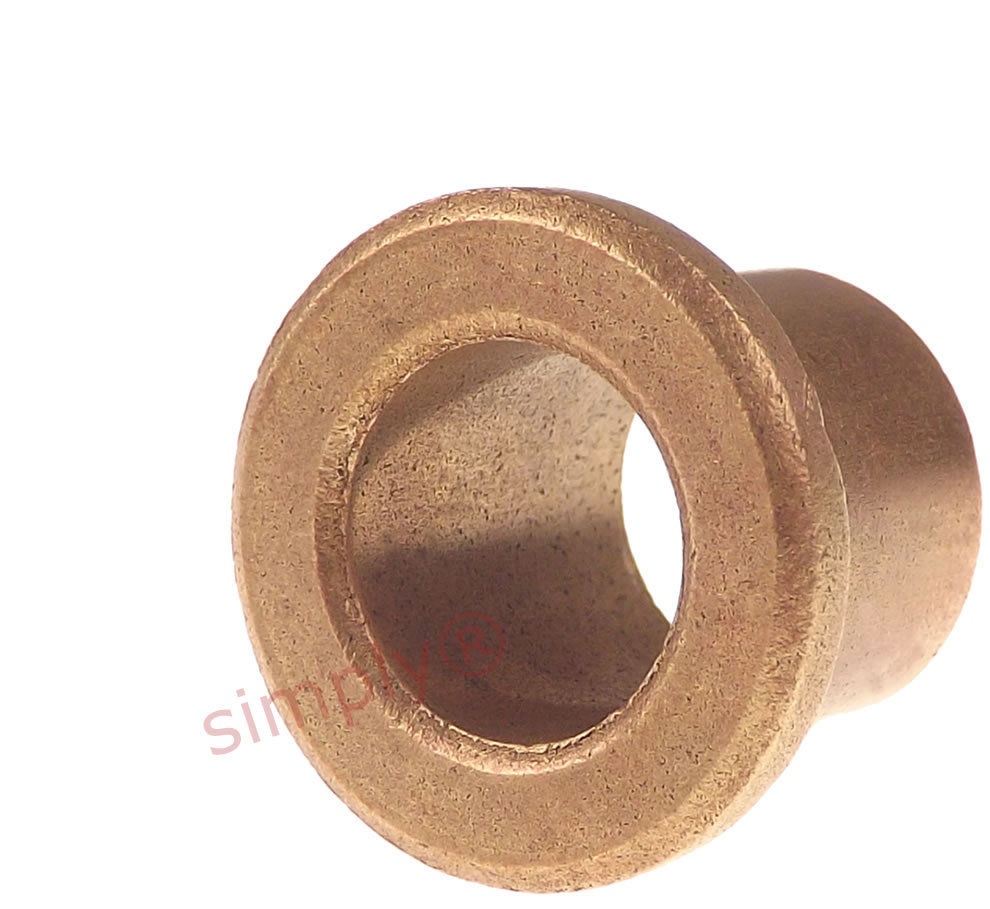
I've measured the bush with calipers and went looking online for something the closest to it and I found this:
Oilite AJ0305-06 Oil Filled Bronze Flanged Bush. Its a special kind of "sintered" metal bush that has oil locked inside the pores of the metal which slowly releases as the bush gets worn. Oilite is quite a popular brand and unless you live under a rock you should be able to find it online.
A pack of 10 cost me £10.70 and you will only need 2 to do the whole pedal.
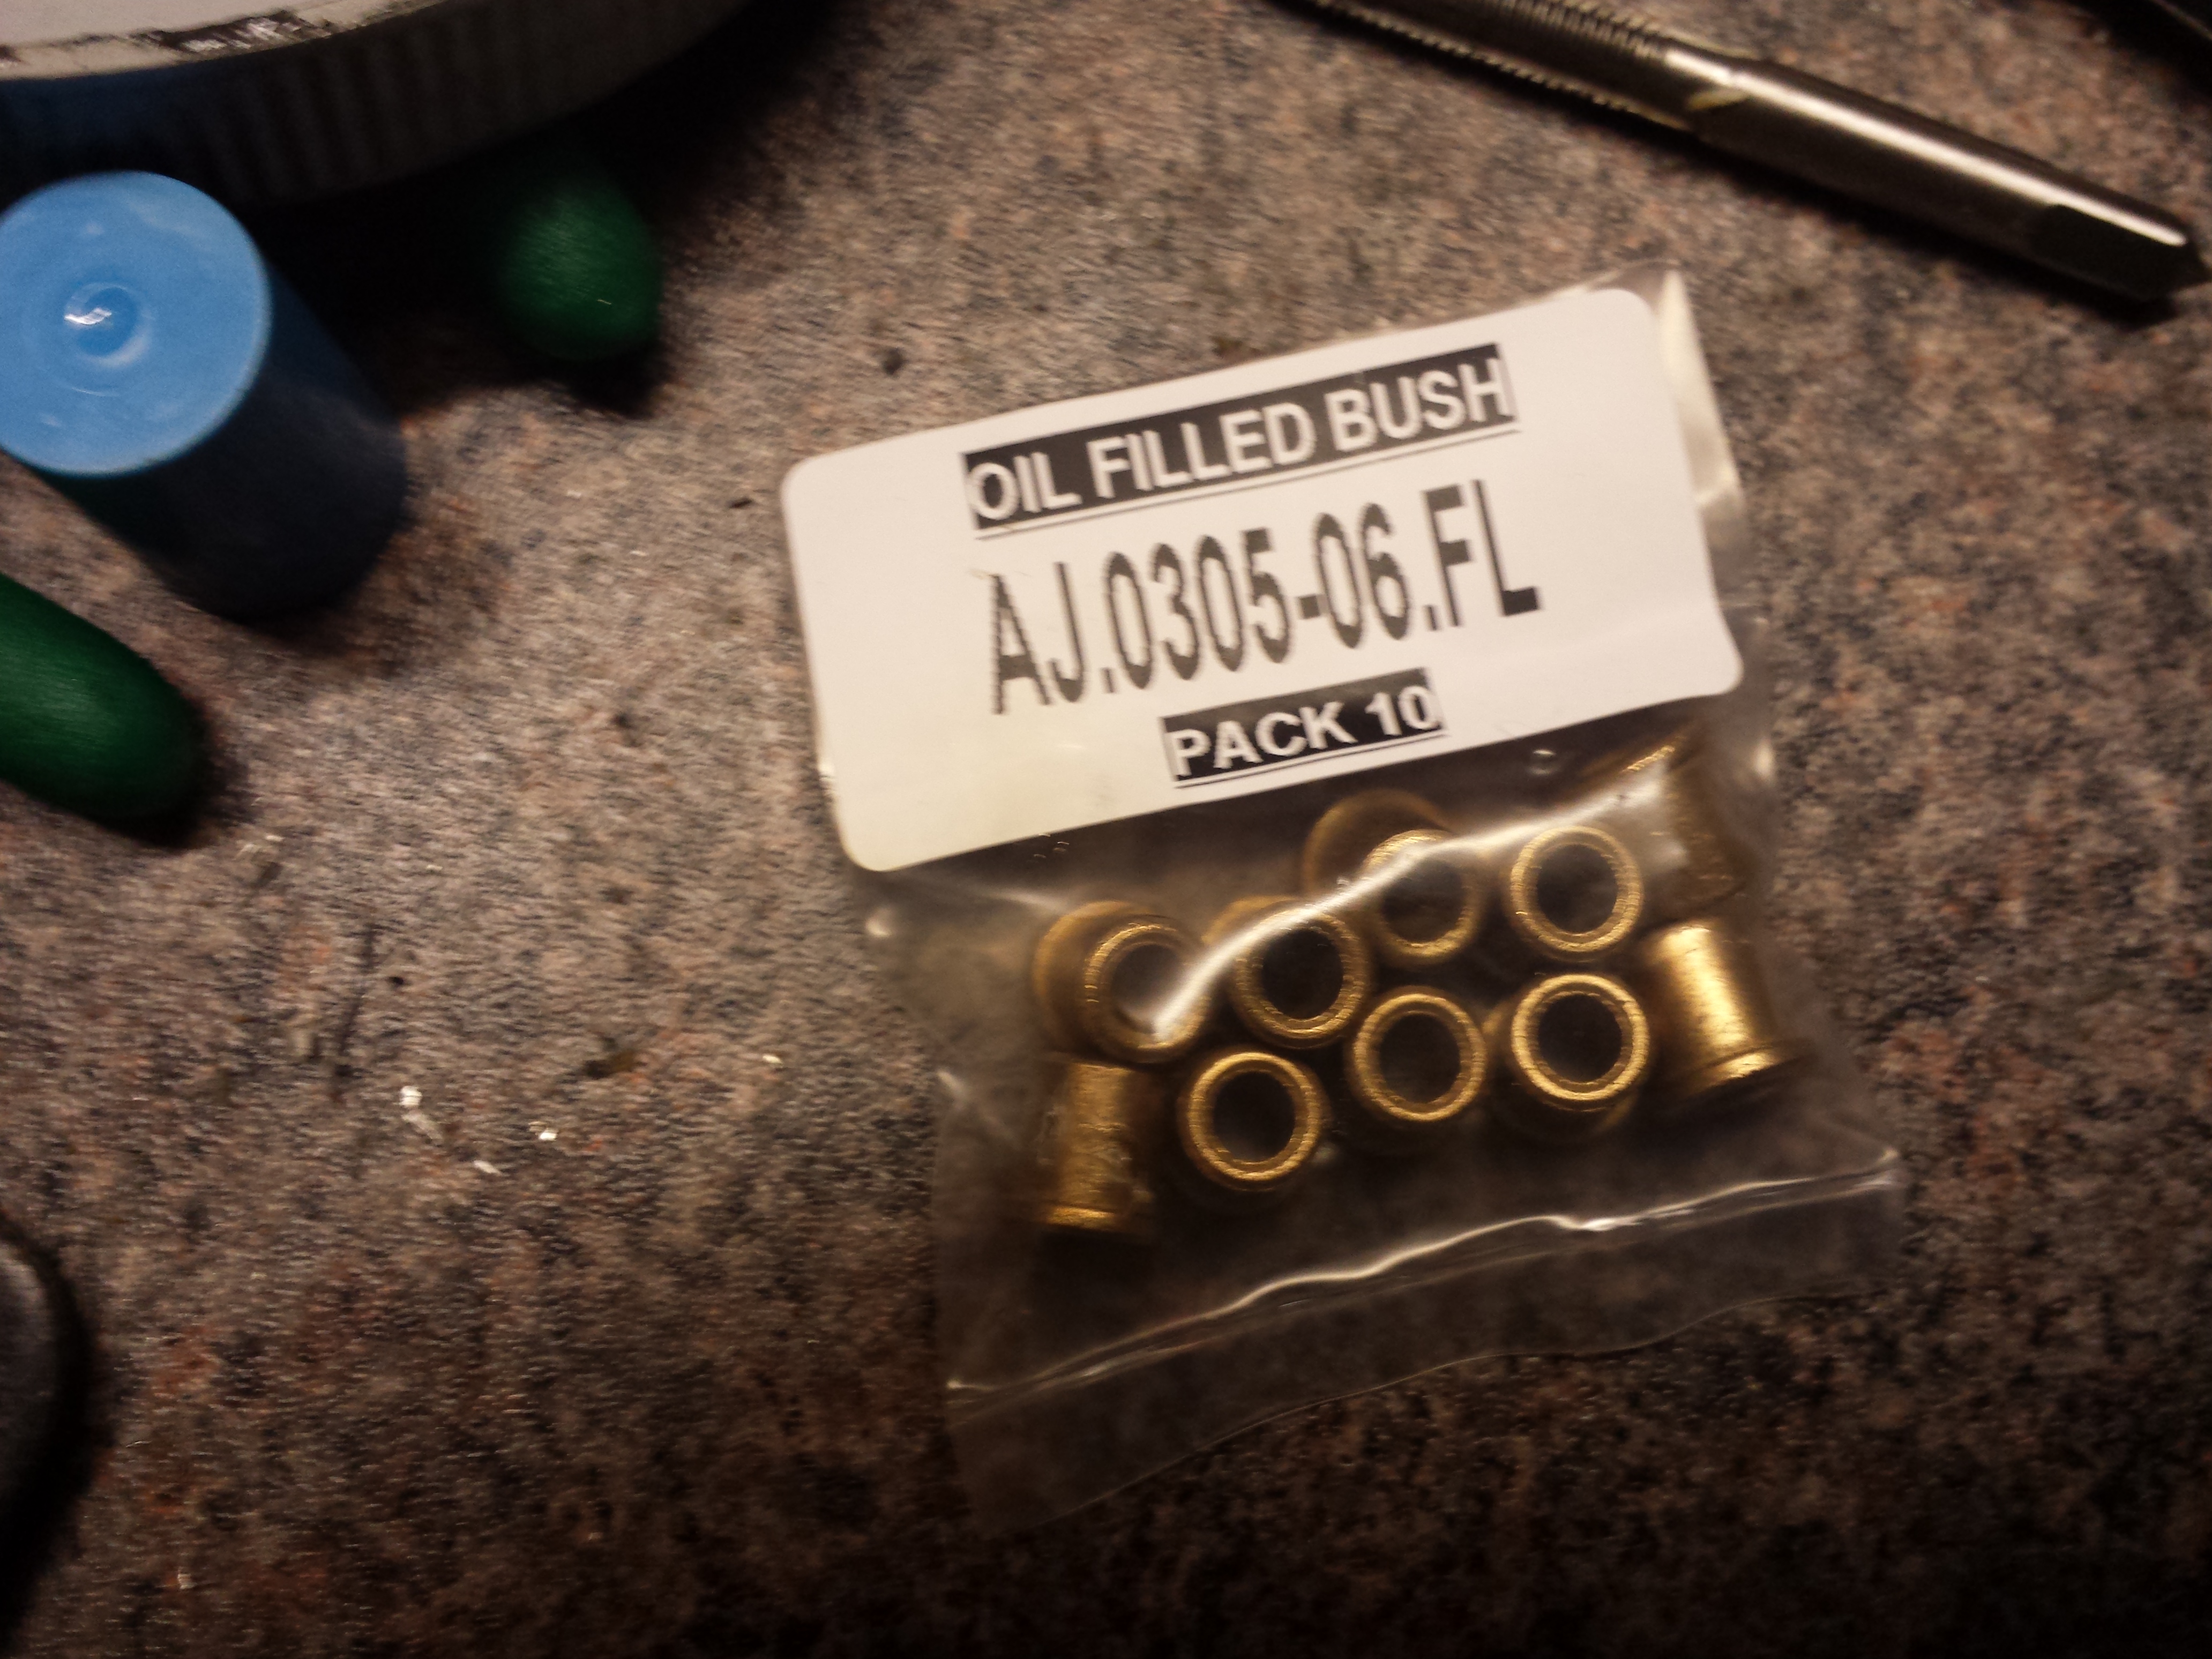
The dimensions of the bush are:
Inside Diameter: 4.76mm
Outside Diameter: 7.94mm
Length: 9.53mm
But the diameter of the hole in the pedal was 7mm and the bush is 7.94mm so I had to take a 8mm drill and drill the holes out, it took 1 minute:
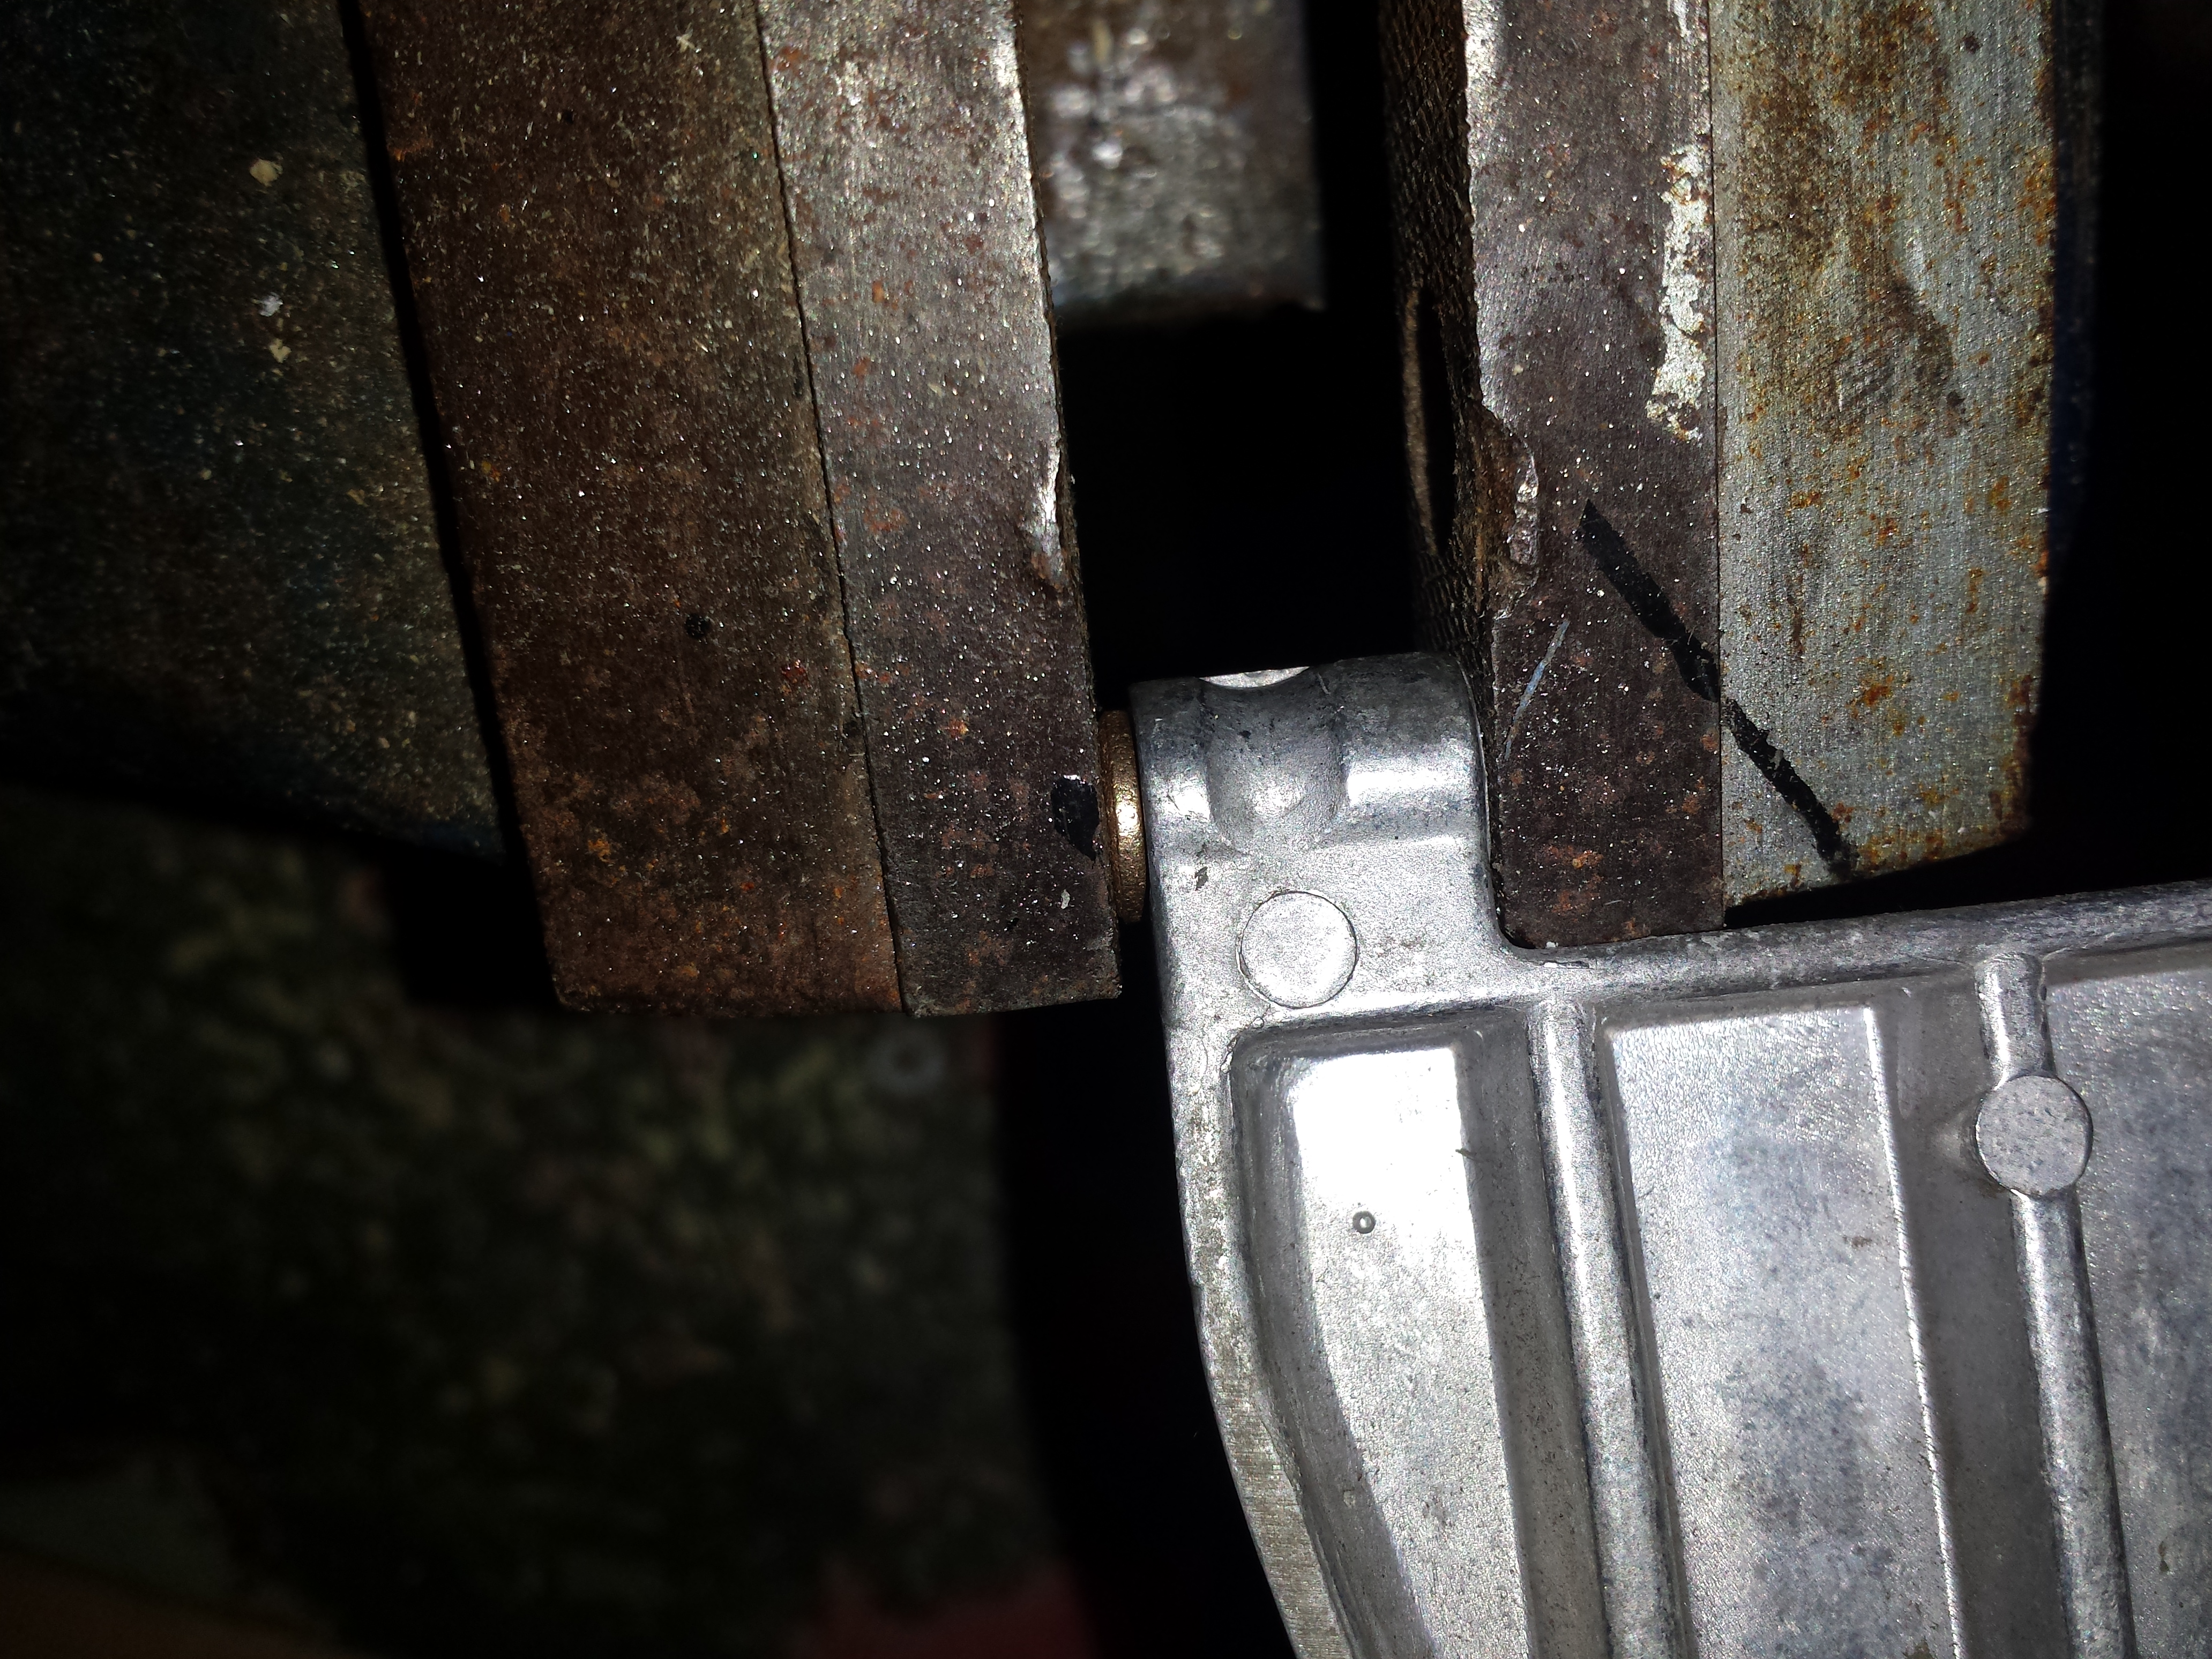
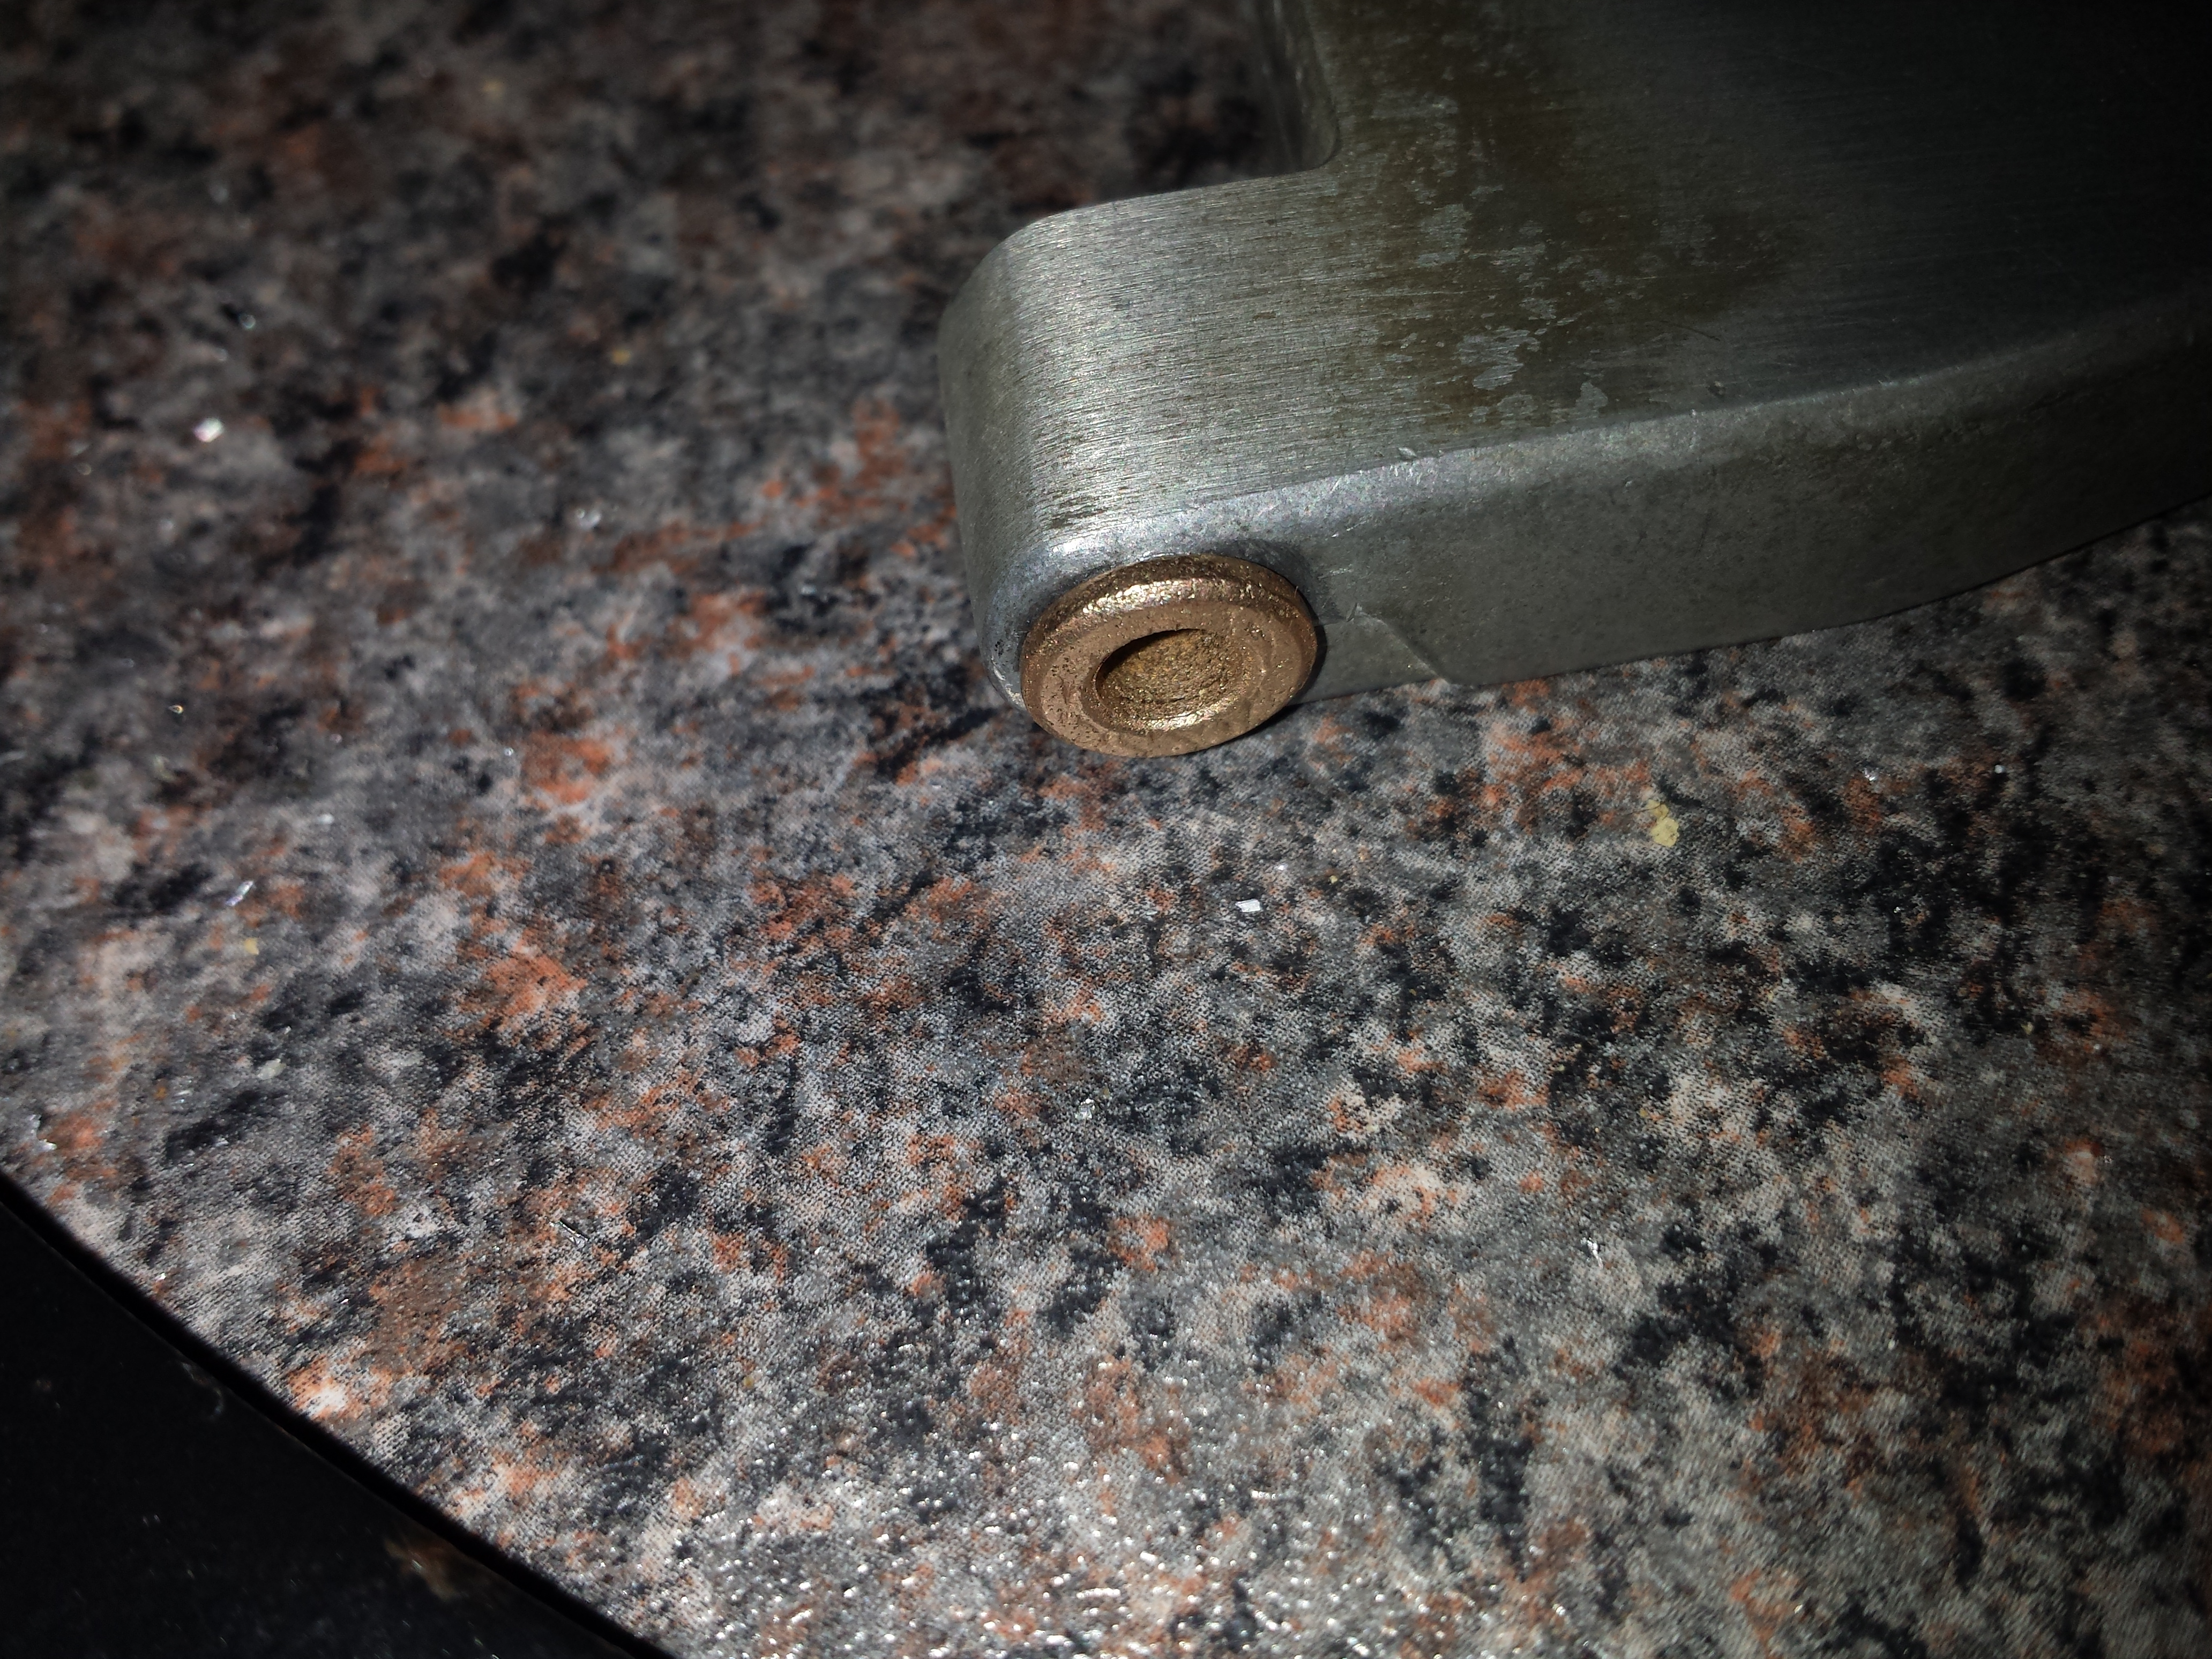
Once that was done I took the bushing and the footplate to a vice and pressed it in. Don't be afraid if it requires some force to press it in, its meant to be tight to stop the bushing from rotating inside the foot plate casting:
Don't try to put the bushes from both sides of the hinge holes because it will be too tight of a fit and just won't work. Trust me I've tried it. Thats why I bought 10 bushes, for trial and error so you don't have to.

The next problem after this is that the diameter of the hinge screw is 5mm and inside diameter of the bush is 4.97mm. To fix this we will have to drill the bush out. Thats why I put it in the foot plate first, its easier to hold etc.
Bronze is a very weak and soft material when it comes to shearing forces so the drilling will have to be done in two stages, to shave a tiny bit of material each time
To prepare for this you will have to put the foot plate in a vise with 2 pieces of wood inbetween to stop metal to metal contact and possible cracking:
Then, you will take a 5mm drill and the bush out. The name of the game here is precision so make sure you hold the drill as straight down as possible. Dont apply too much pressure and let the drill do the job. All it took for me was 1 quick squeeze of the drill trigger and the job was done.
Now, its not the end of the battle just yet. Because the bolt diameter is 5mm and the hole is now 5mm, it means that the tolerance is too high and the bolt will not fit in and will thread itself into the bush damaging it.
So now you will take a 5,2mm drill which may be quite hard to find in a DIY store but i bought mine for £2 on ebay, and once again drill through the bush lightly.
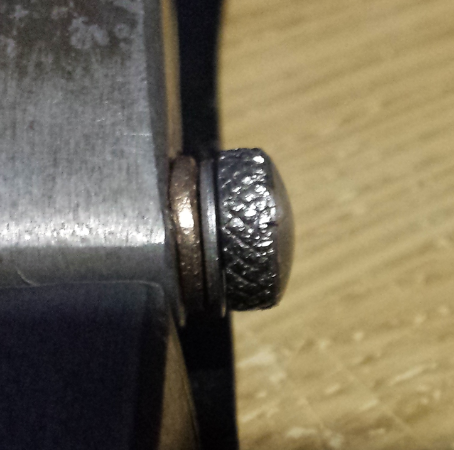
All you have to do now is re-assemble the footboard which is the reverse of when you took it apart, with one little addition, mainly a spacer that goes between the bush and the head of the bolt like below:
Also apply a bit of oil on the screw as you put it in just to help it go in and reduce initial fricttion as its going to be a little high because everyting has to wear in properly. This took about 45min and saved me £70.